
Introduction
This guide explores how to use Tabaqat MapProxy to improve the performance of your ArcGIS Server, making map services faster and more efficient.
Technical Guide
Step 1: Download Tabaqat Geo Apps
All installation steps are available in a previous article : https://tabaqat-wagtail.tabaqat.net/en/resources/blogs/step-by-step-guide-to-accessing-tabaqat-geoapps-unlocking-geospatial-tools-for-enhanced-analysis/ to download the latest version of Tabaqat Geo Apps. You’ll need to log in or create an account to access the installer.
Step 2: Verify the Installation
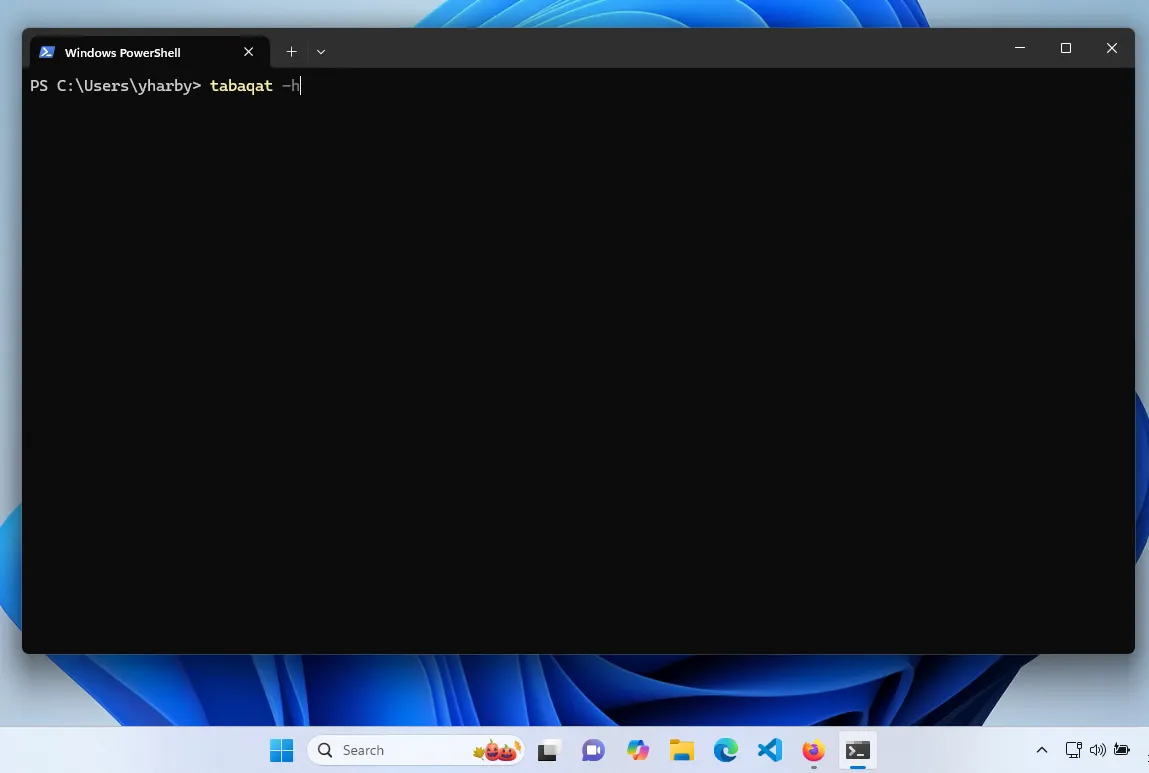
Once installed, open Command Prompt or PowerShell and enter:
tabaqat -h
This command verifies that the Tabaqat command-line interface (CLI) is correctly installed and provides access to available commands.
Step 3 : Check Command Help
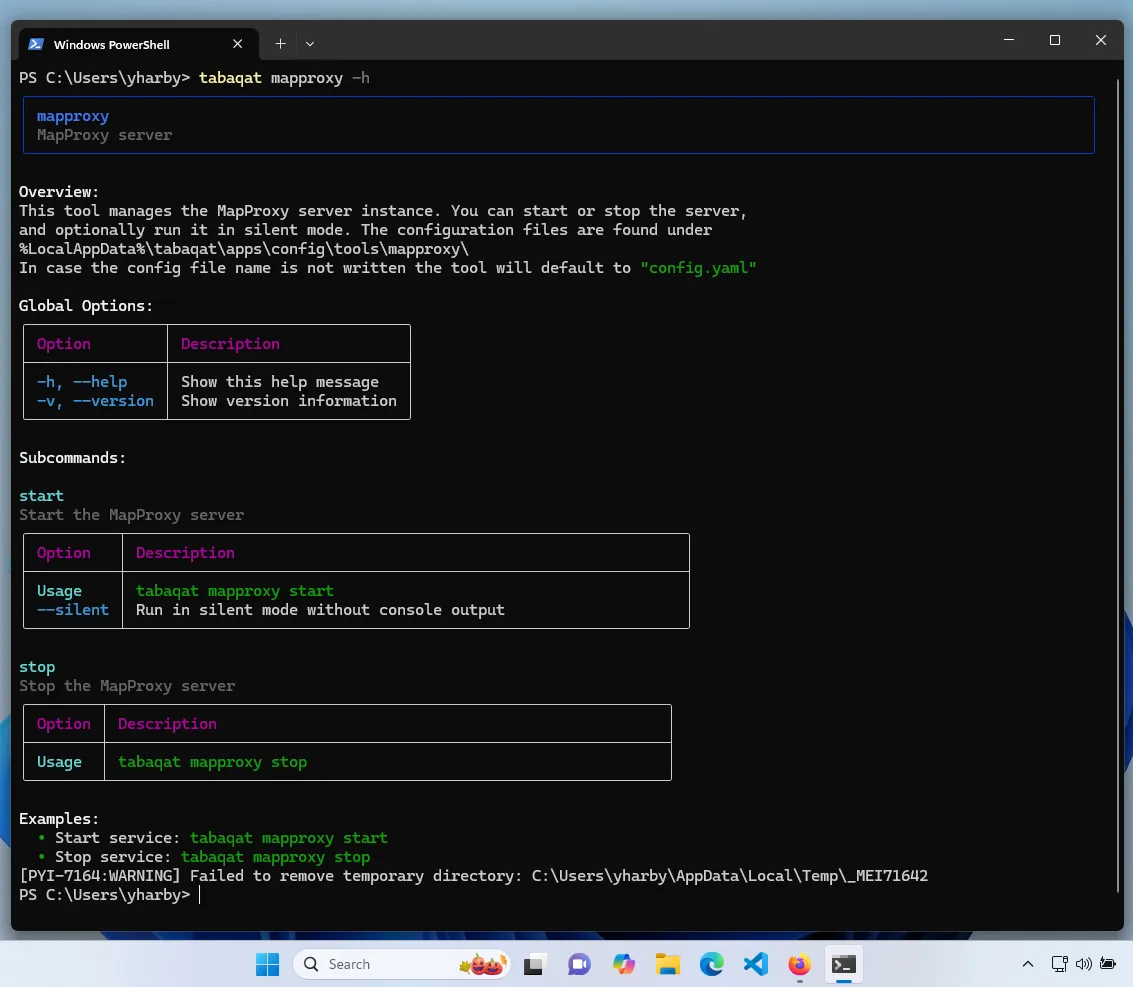
For help with specific commands, such as MapProxy, type:
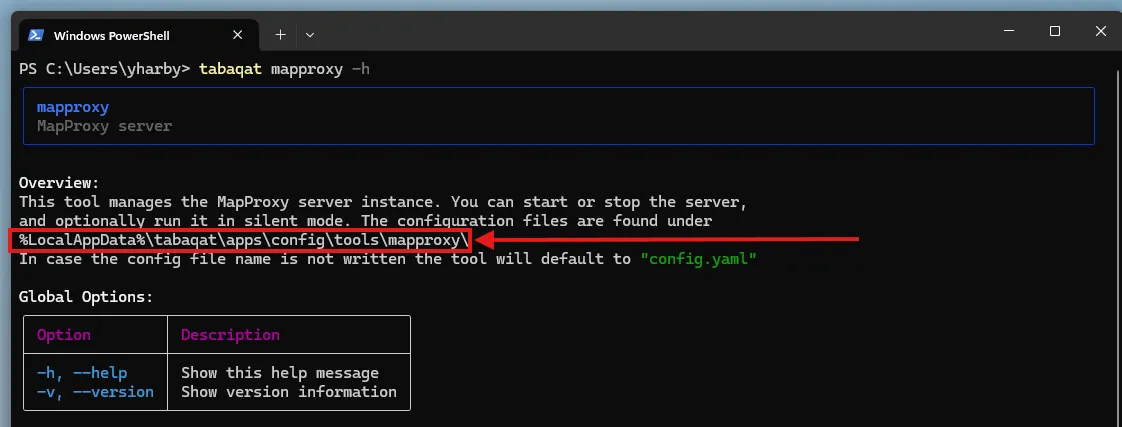
tabaqat mapproxy -h
This displays usage options and configurations for MapProxy, making it easy to start and manage.
Step 4: Start MapProxy
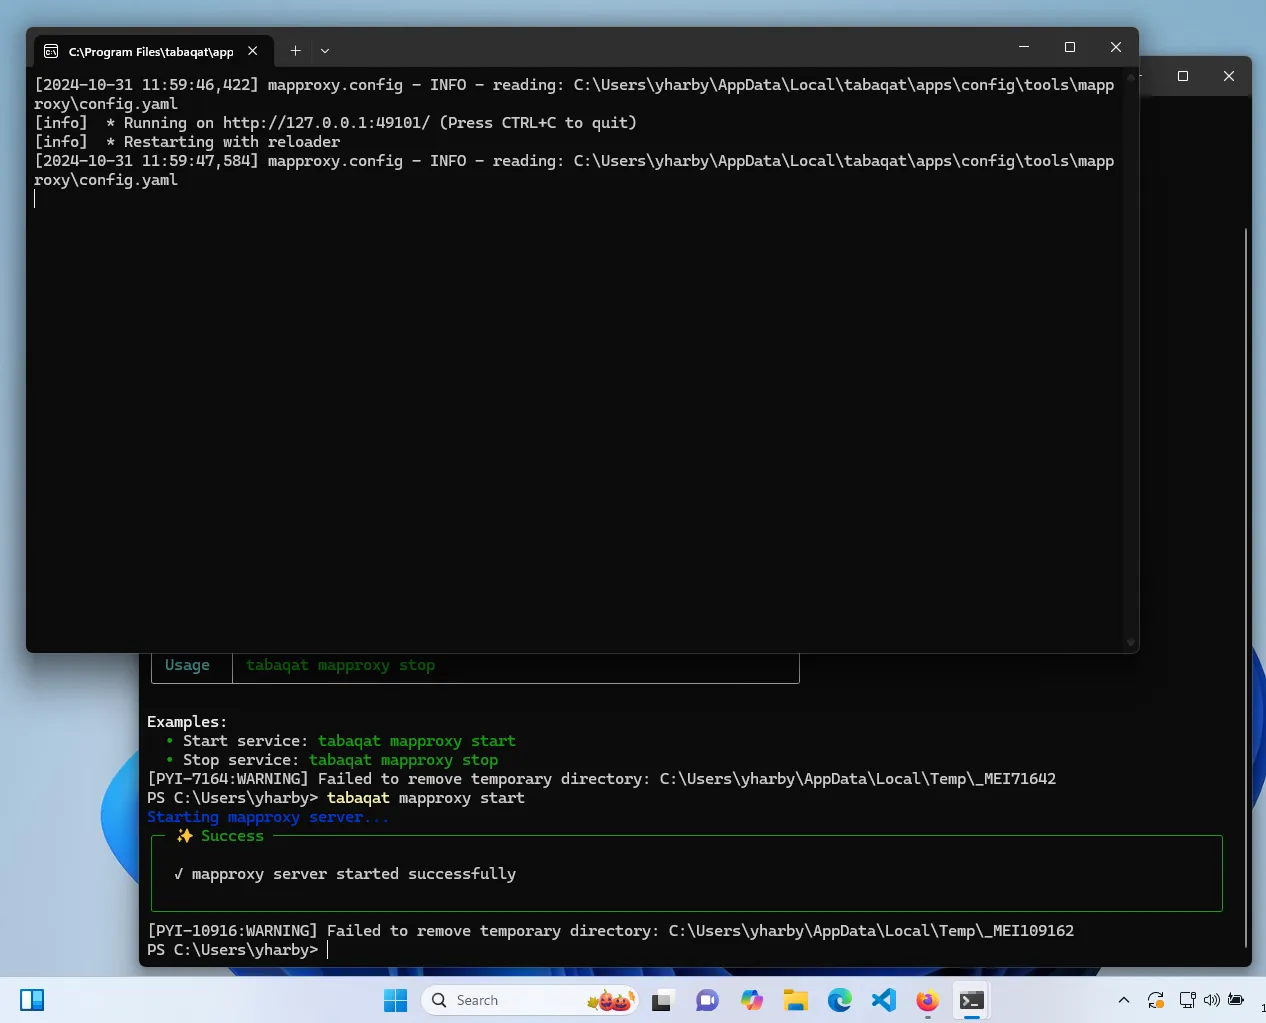
To launch MapProxy, simply run:
tabaqat mapproxy start
A new terminal window will open, showing detailed logs and application events.
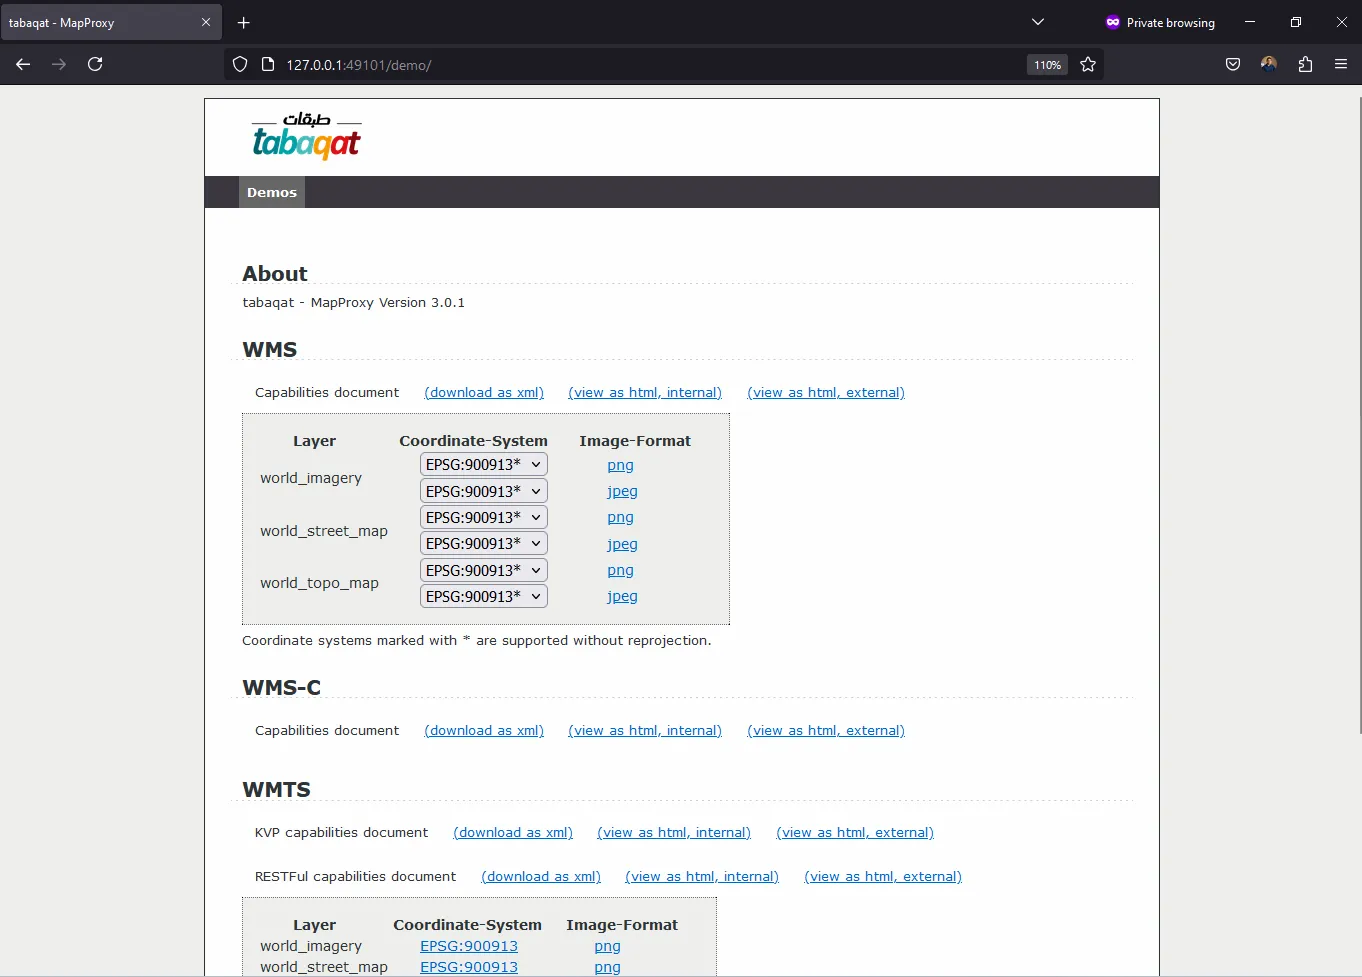
Step 5: Access the MapProxy Demo
Once MapProxy is running, open your browser and go to http://127.0.0.1:49101/demo/. This demo interface confirms that MapProxy is successfully up and running.
Step 6: Customize Configurations
To customize your configuration, run:
tabaqat mapproxy -h
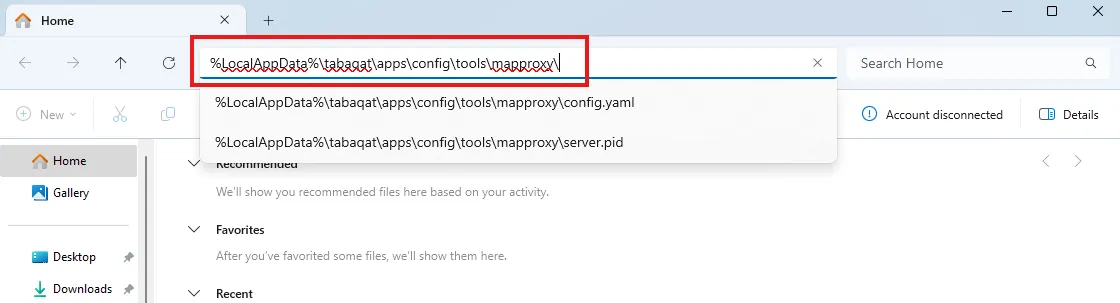
Locate the configuration directory path and copy it.
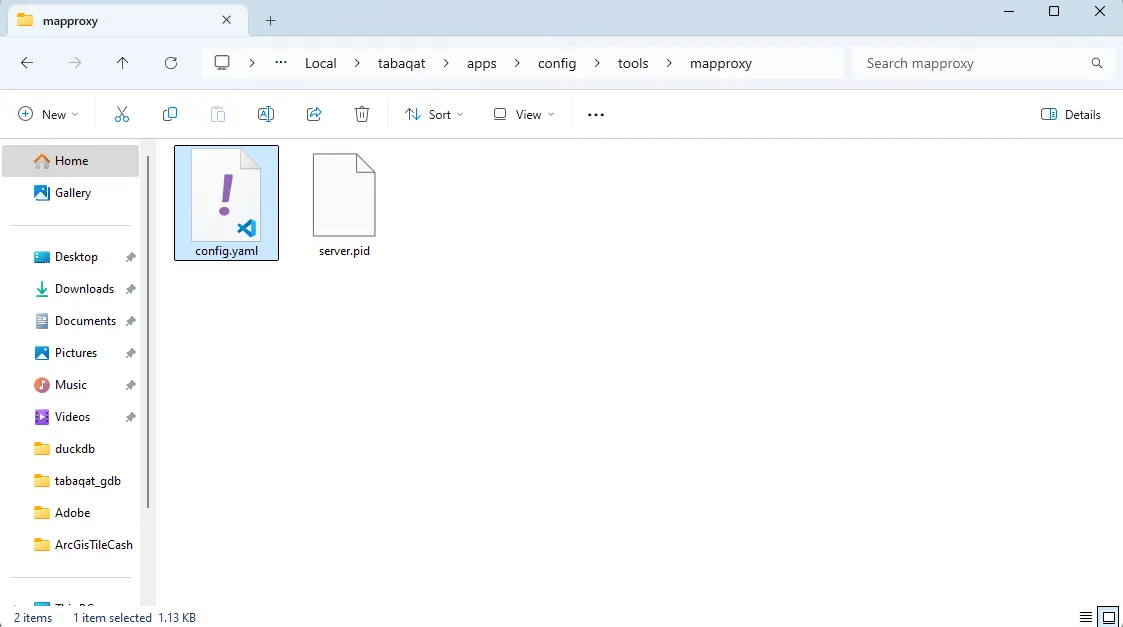
Paste it into File Explorer and press enter key to access config.yaml.
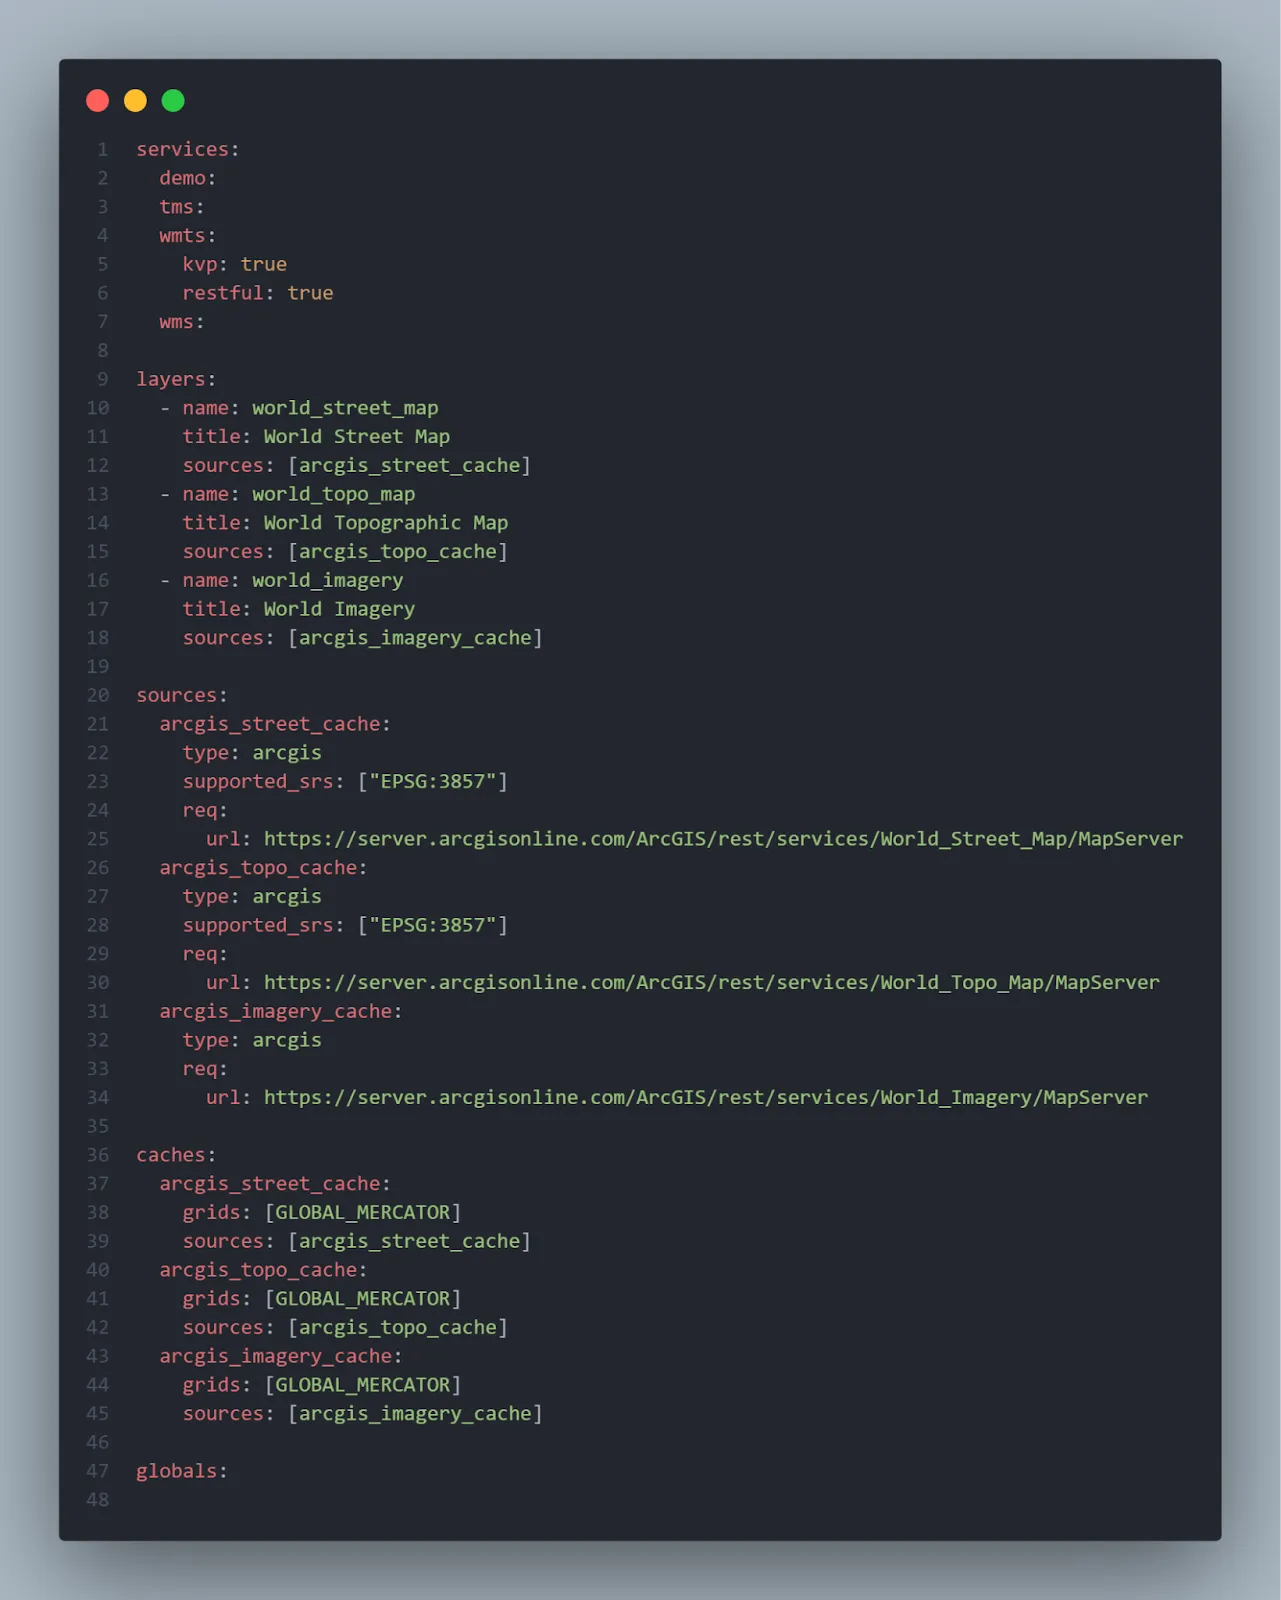
You can now edit config.yaml to add your own ArcGIS Servers or other custom settings.
By changing ArcGIS Server URL in config.yaml file.
Conclusion
Following these steps will help you effectively install and configure Tabaqat MapProxy on your Windows environment, providing a streamlined, high-performance experience for your ArcGIS Server.