Introduction
We discussed in a previous article Generating PMTiles from Raster Satellite Image produced by Tabaqat Satellite Downloader Tool https://tabaqat-wagtail.tabaqat.net/en/resources/blogs/generating-pmtiles-from-sentinel-satellite-imagery-produced-by-tabaqat-satellite-tool/.
In this article , We will generate PMTiles from Vector Data Using Tippecanoe And go-pmtiles Tools as it requires a different workflow for converting from Vector Data to PMTiles.
But before we start outlining the workflow , We will give a brief about PMTiles and Why we will convert vector geospatial data to PMTiles.
PMTiles is a single-file archive format for tiled data. A PMTiles archive can be hosted on a commodity storage platform such as S3, and enables low-cost, zero-maintenance map applications that are "serverless" - free of a custom tile backend or third party provider.
That's why we will convert vector data to PMTiles , it has many benefits regarding low cost and maintenance and that it's serverless , so there is no need for a server and it will be very good for cloud based workflows.
Technical Guide
We will create PMTiles from Vector Data through two stages :
1. Converting Vector Data to MBTiles Using Tippecanoe Tool
2. Converting MBTiles to PMTiles Using go-pmtiles Tool
Converting Vector Data to MBTiles Using Tippecanoe Tool
The First Stage include converting Vector Data (for example : Riyadh Roads Line Feature Layer) that we will use in our workflow as input data Using Tippecanoe Tool which is Builds Vector Tilesets from large (or small) collections of GeoJSON , Flatgeobuf and CSV features.
You can know more about Tippecanoe Tool from here https://github.com/felt/tippecanoe.
We will start with installing tippecanoe tool on Windows system. Though it doesn't have native Windows binaries, But you can install it using Windows Subsystem for Linux (WSL).
Open PowerShell as Administrator and run the following command :
` wsl --install `
It will create a virtual machine for Ubuntu Server On your Windows.

After installation process completed, You will need to restart your device to validate changes.
After restarting your device open WSL terminal (Ubuntu) from Start Menu and Configure Ubuntu virtual machine by setting Username and Password (Note : Linux terminal applications do not display characters when entering passwords for security reasons).

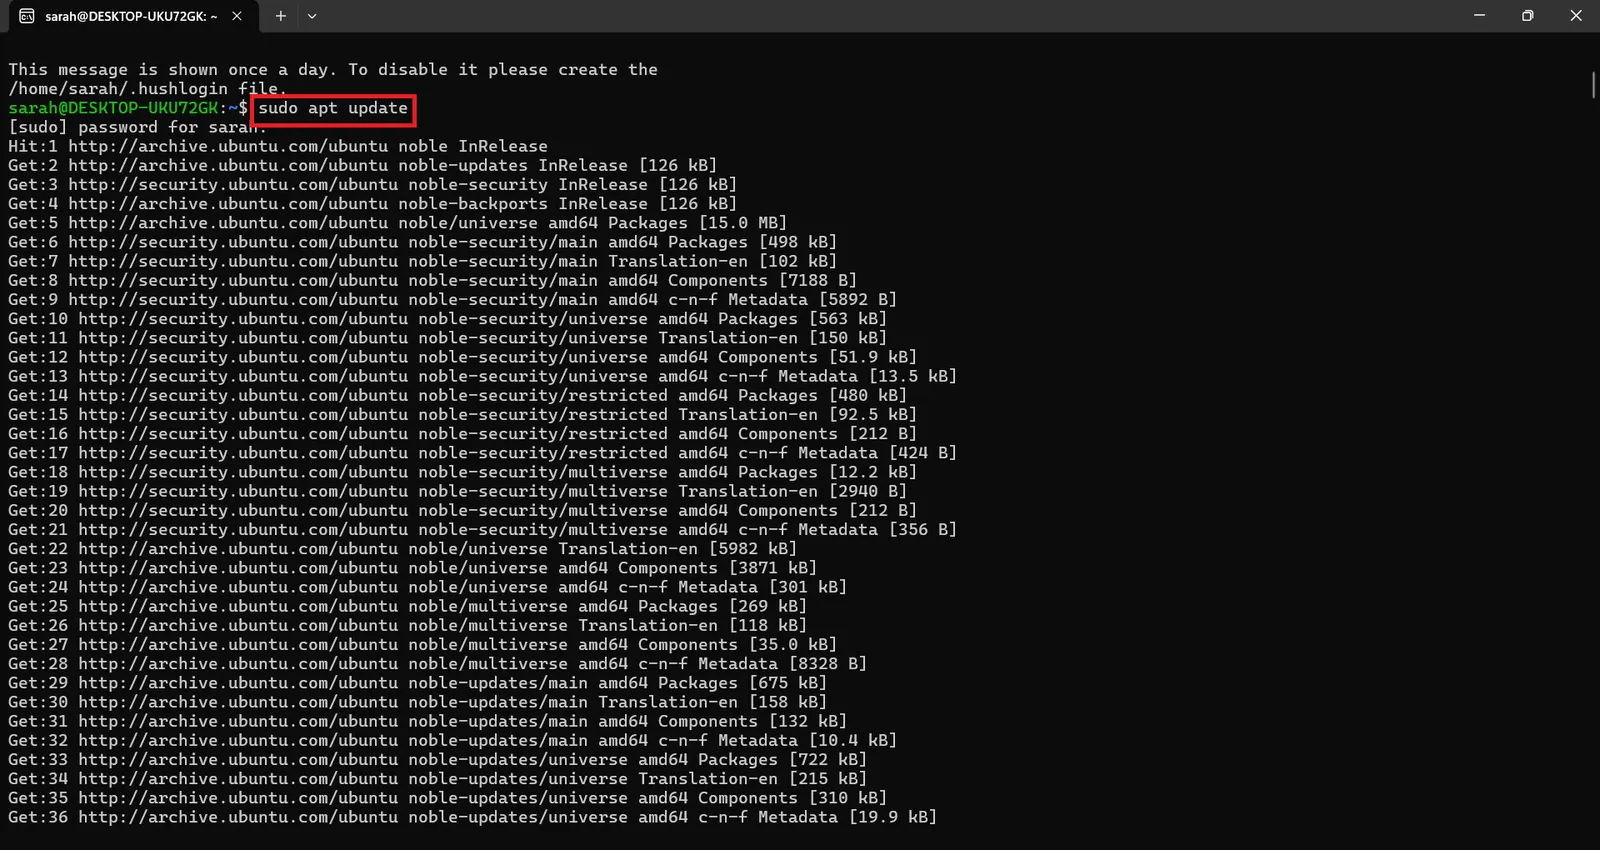
Before cloning the Tippecanoe repository, Update package lists and install dependencies using these two commands :
` sudo apt update `
` sudo apt install -y build-essential git `

Clone the Tippecanoe repository to install the tool on your device to execute conversion process of vector data to pmtiles through this command :
` git clone https://github.com/mapbox/tippecanoe.git `

To compile tippecanoe, you will need first to install the two required development libraries SQLite3 and zlib.
Install zlib which is required for compression operations through this command :
` sudo apt-get install zlib1g-dev `

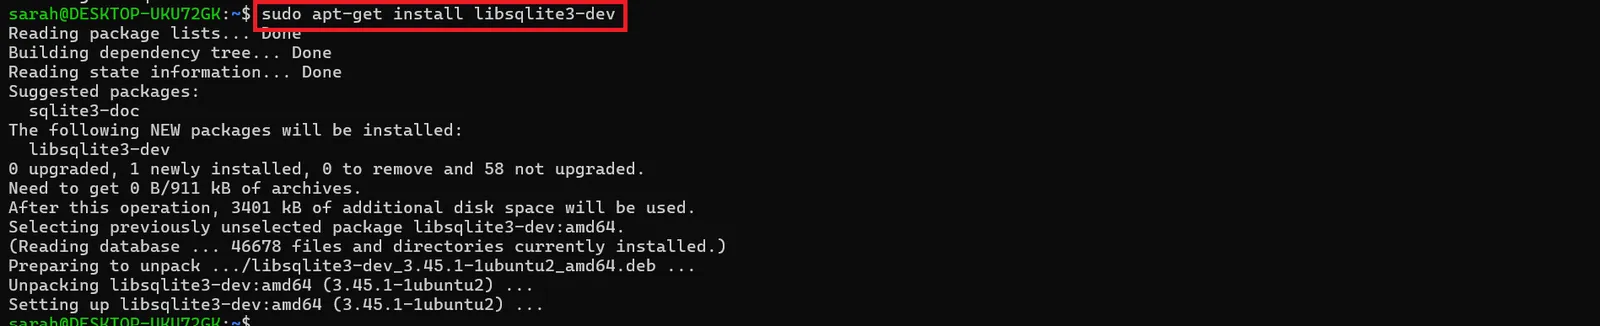
And Also install SQLite3 which is used by Tippecanoe to handle .mbtiles files through this command :
` sudo apt-get install libsqlite3-dev `
Build the tool through the following commands :
` cd tippecanoe `
` make -j `
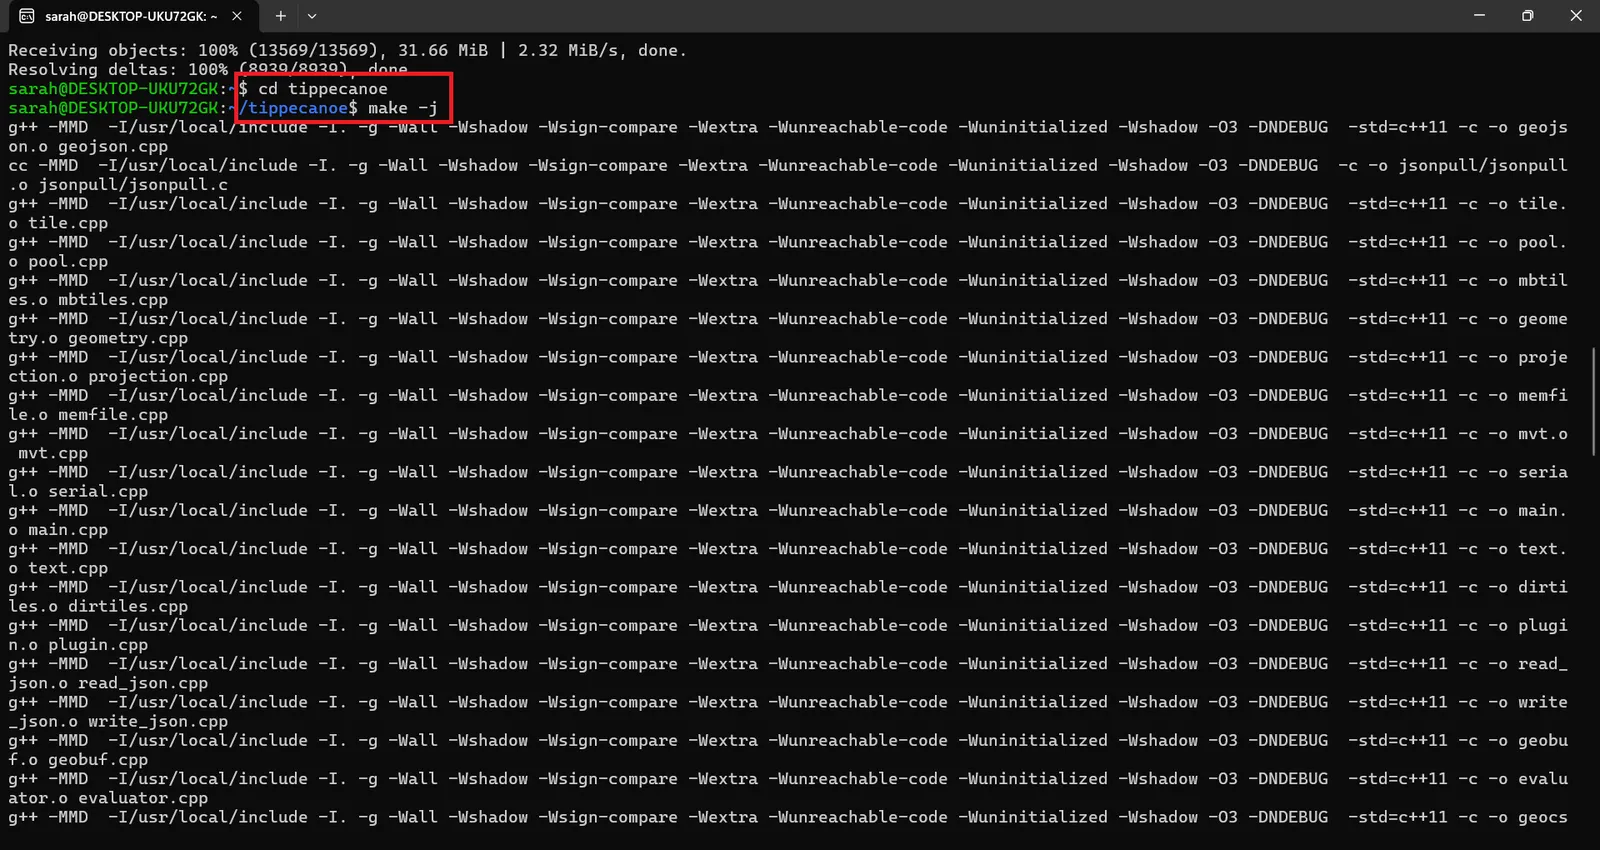
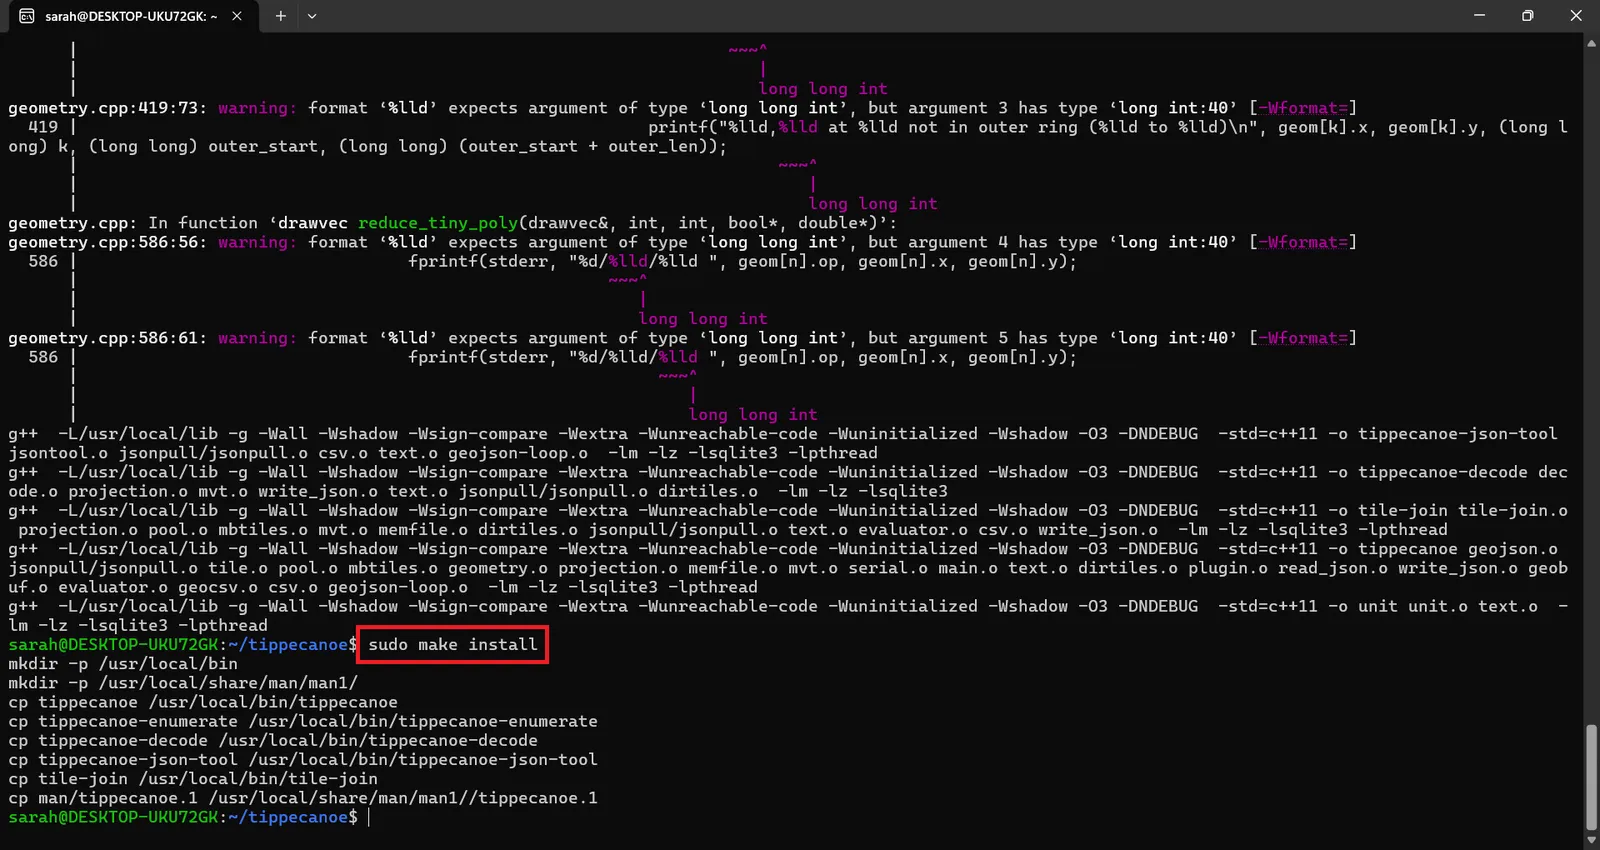
` sudo make install `
After finishing installation process of the tool, Run the following command to convert riyadh_roads.geojson file to pmtiles :
` tippecanoe -o /mnt/d/riyadh_roads.mbtiles /mnt/d/riyadh_roads.geojson --maximum-zoom=14 --minimum-zoom=10 --no-tile-size-limit `
" --no-tile-size-limit " : removes the restriction on tile size and allows Tippecanoe to write larger tiles, which may help if your data is too complex.
And you can adjust minimum and maximum zoom level based on your workflow.

After conversion process is finished, a MBTiles file for riyadh_roads layer will be generated at the specified path as shown here.

You can explore the output MBTiles in QGIS Desktop to check the accuracy of conversion process done by Tippecanoe Tool.
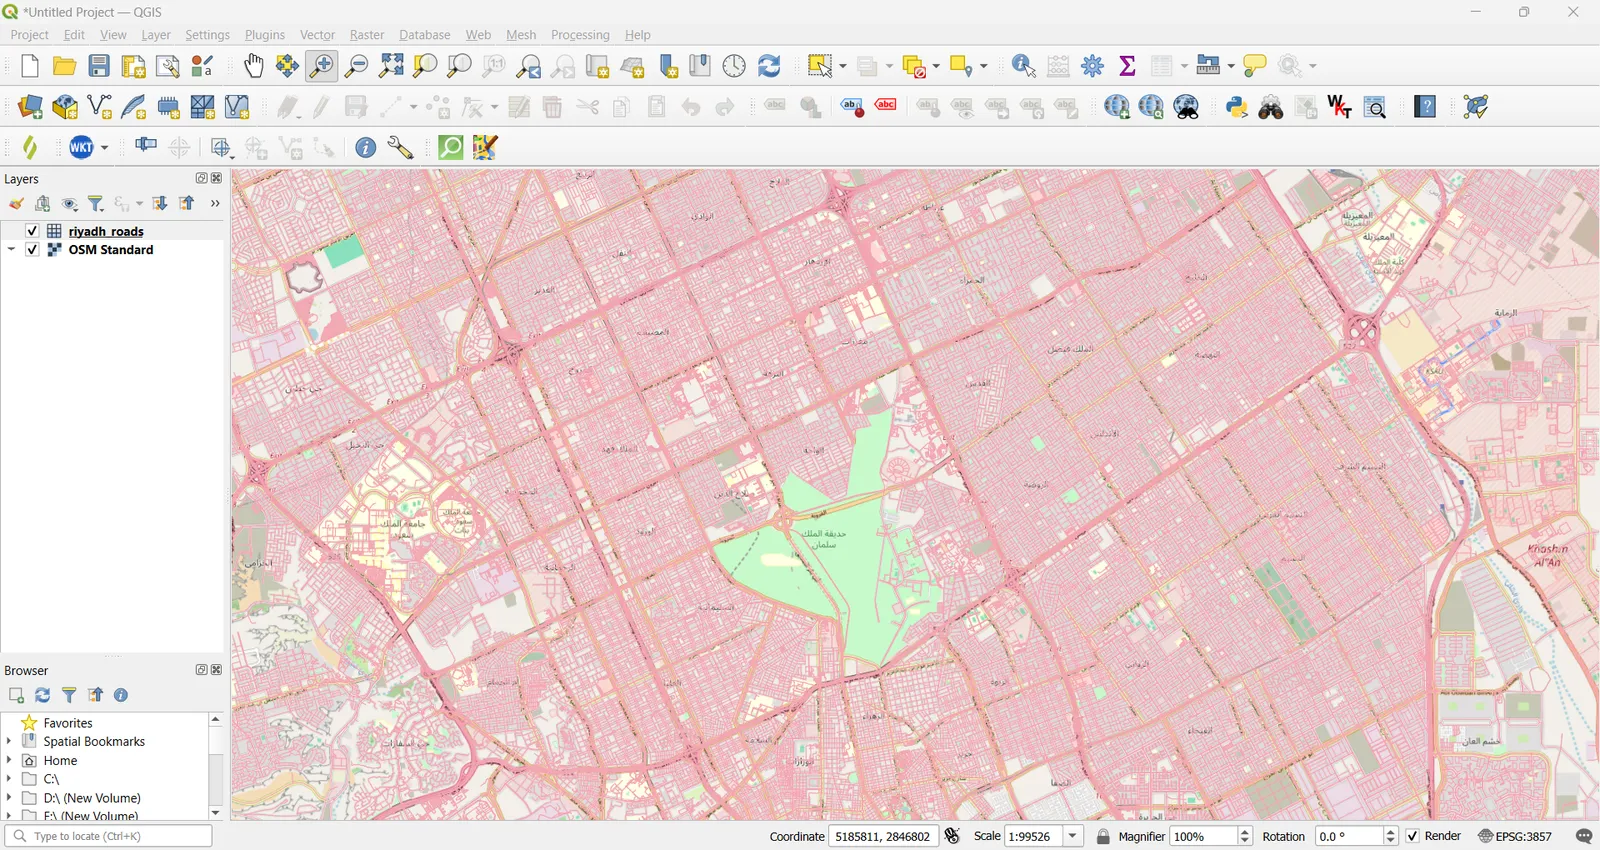
As shown in the image, the conversion process done successfully and all the details of the vector layer appears in the MBTiles at the specified zoom levels.
Now, You will proceed to the second stage of Converting MBTiles to PMTiles Using PMTiles CLI Tool (go-pmtiles tool)
We explained in a previous article the installation process of go-pmtiles Tool https://tabaqat-wagtail.tabaqat.net/en/resources/blogs/generating-pmtiles-from-sentinel-satellite-imagery-produced-by-tabaqat-satellite-tool/.
After installing it on your device, locate the output MBTiles of riyadh_roads in the same directory of binary of the go-pmtiles tool.
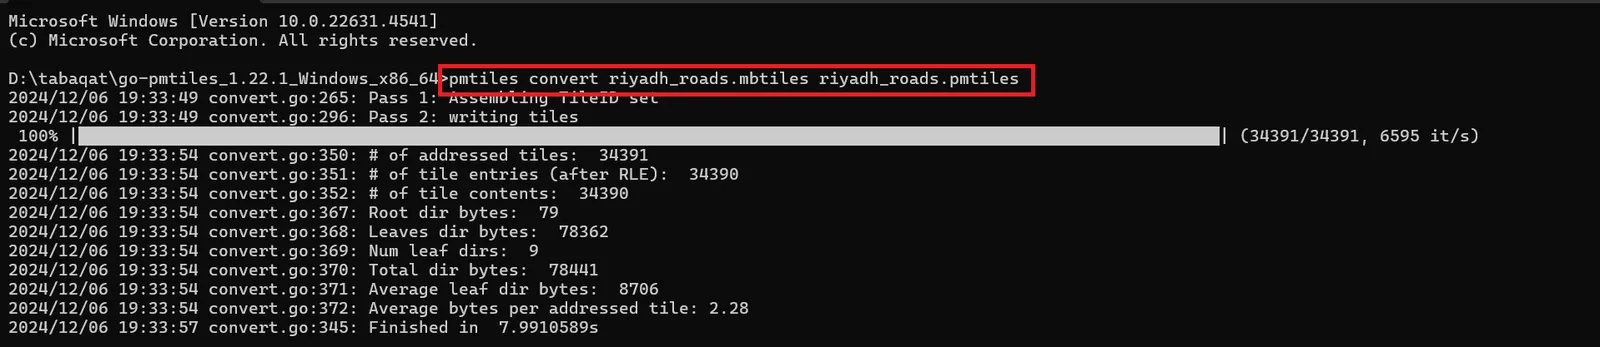
And Use this command to convert riyadh_roads MBTiles to PMTiles :
` pmtiles convert riyadh_roads.mbtiles riyadh_roads.pmtiles `
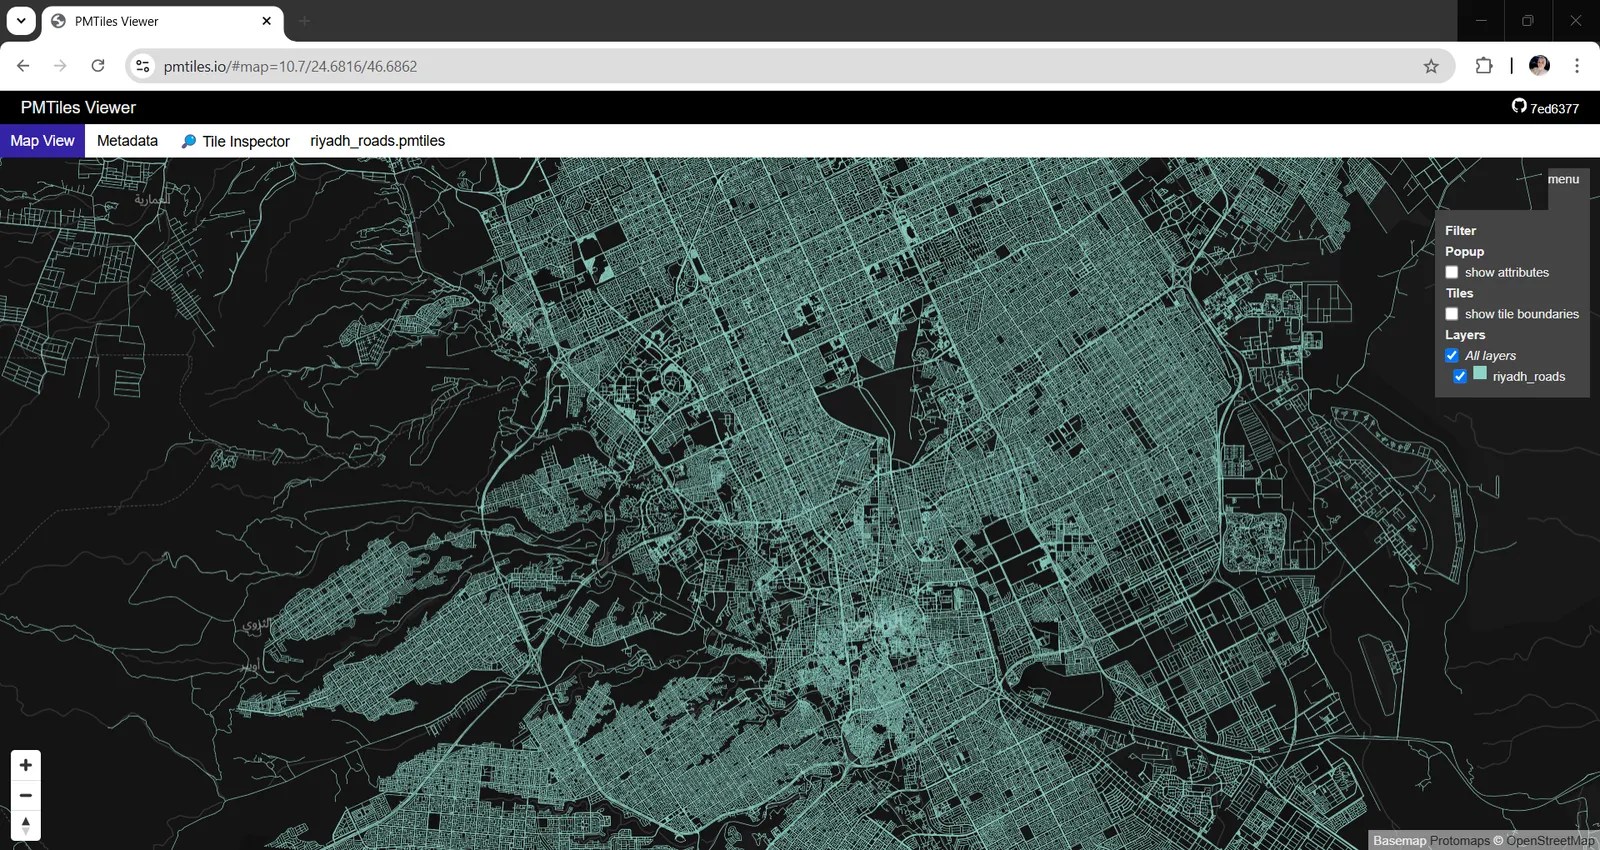
You can visualize the output PMTiles in PMTiles Viewer like https://pmtiles.io/ to ensure the accuracy of converion process, It will appear at the specified zoom levels.
Conclusion
You can now benefit from the cloud native PMTiles which is designed for storing and efficiently serving map tiles, supporting both vector and raster tiles. And which enables offline access and simplifies distribution by consolidating tiles into a single portable file by generating it from vector geospatial data using tippecanoe and go-pmtiles tools.