Introduction
- We discussed in previous article the process of generating PMTiles file either from Vector Data : https://blogs.tabaqat.net/en/generating-pmtiles-from-vector-geospatial-data-using-tippecanoe-and-go-pmtiles-tools/ or Raster Data : https://blogs.tabaqat.net/en/generating-pmtiles-from-sentinel-satellite-imagery-produced-by-tabaqat-satellite-tool/ .
- Then, We discussed how to style and serve PMTiles as Vector Tiles Using Docker On Ubuntu Server (For Linux) : https://blogs.tabaqat.net/en/step-by-step-guide-to-styling-and-serving-pmtiles/.
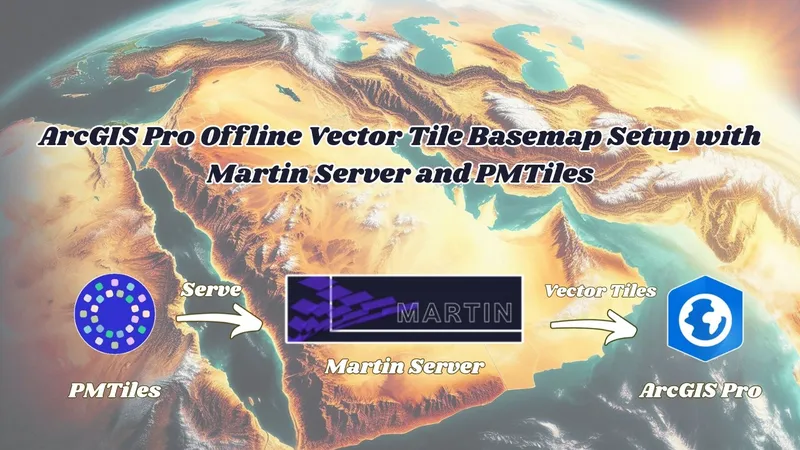
- Through this article we will clarify how to get offline vector tiles basemap into ArcGIS Pro by serving local PMTiles Using TileServer GL On Windows Through Node.js.
Technical Guide
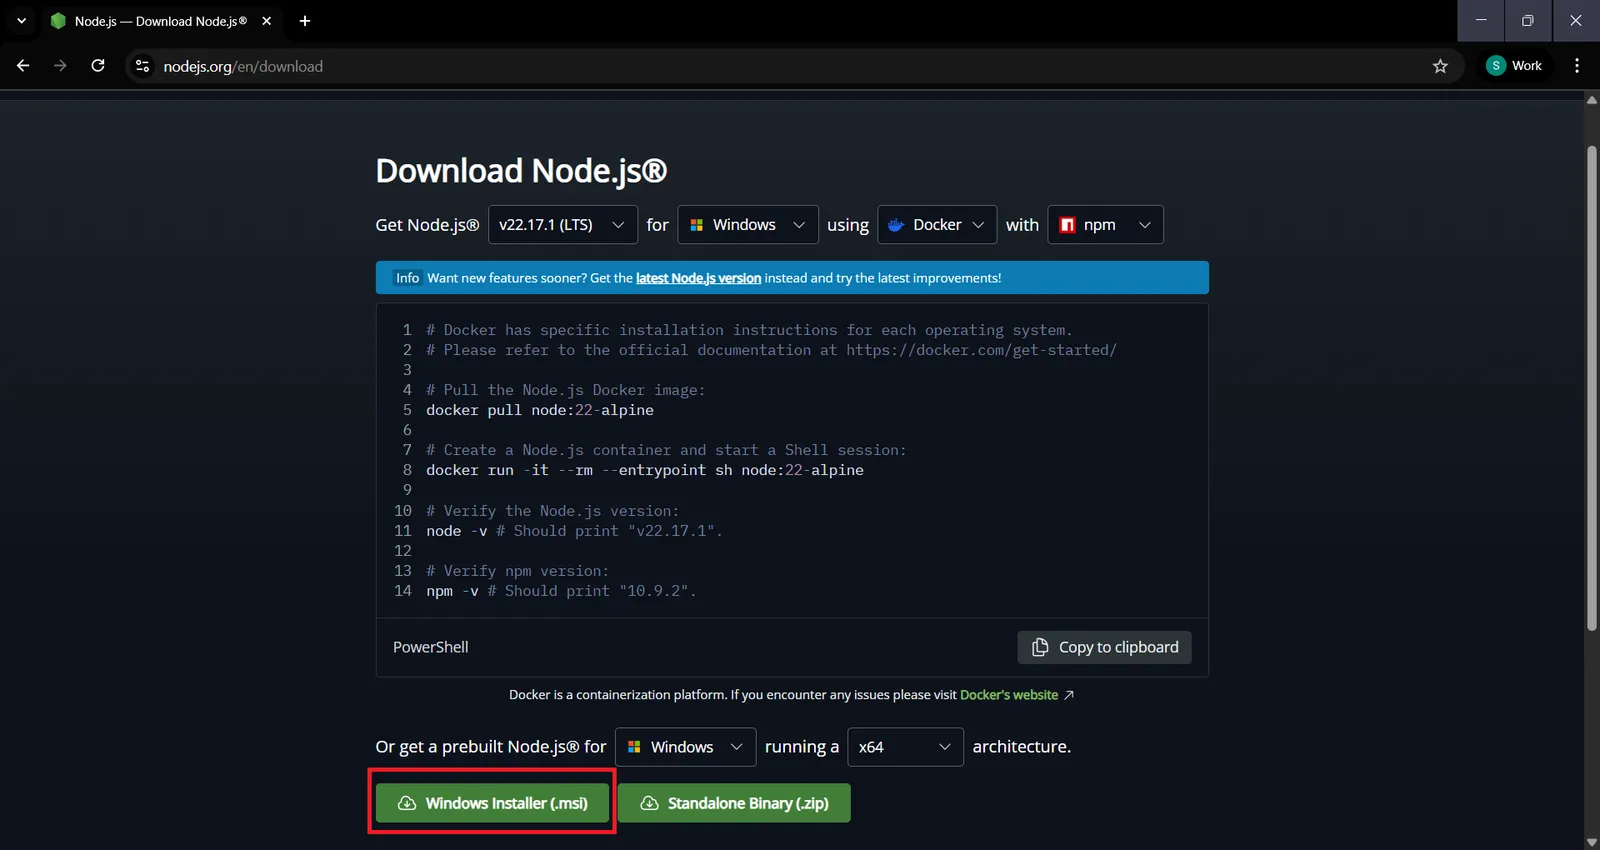
- Install Node.js from this URL: https://nodejs.org/en/download by choosing windows compatible version.
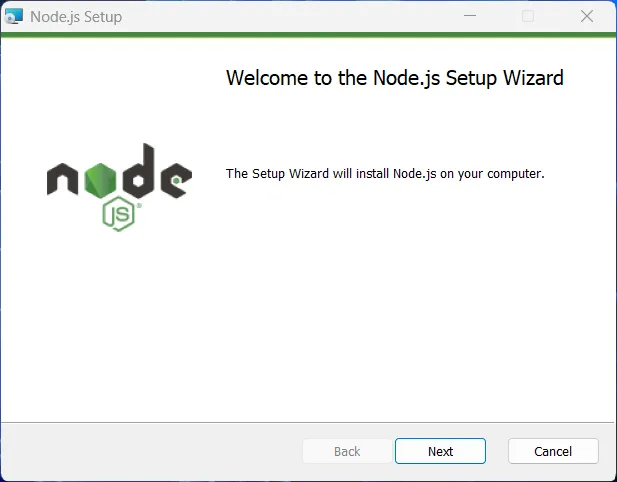
- Follow installation steps by defaults till it's completely installed on your device.
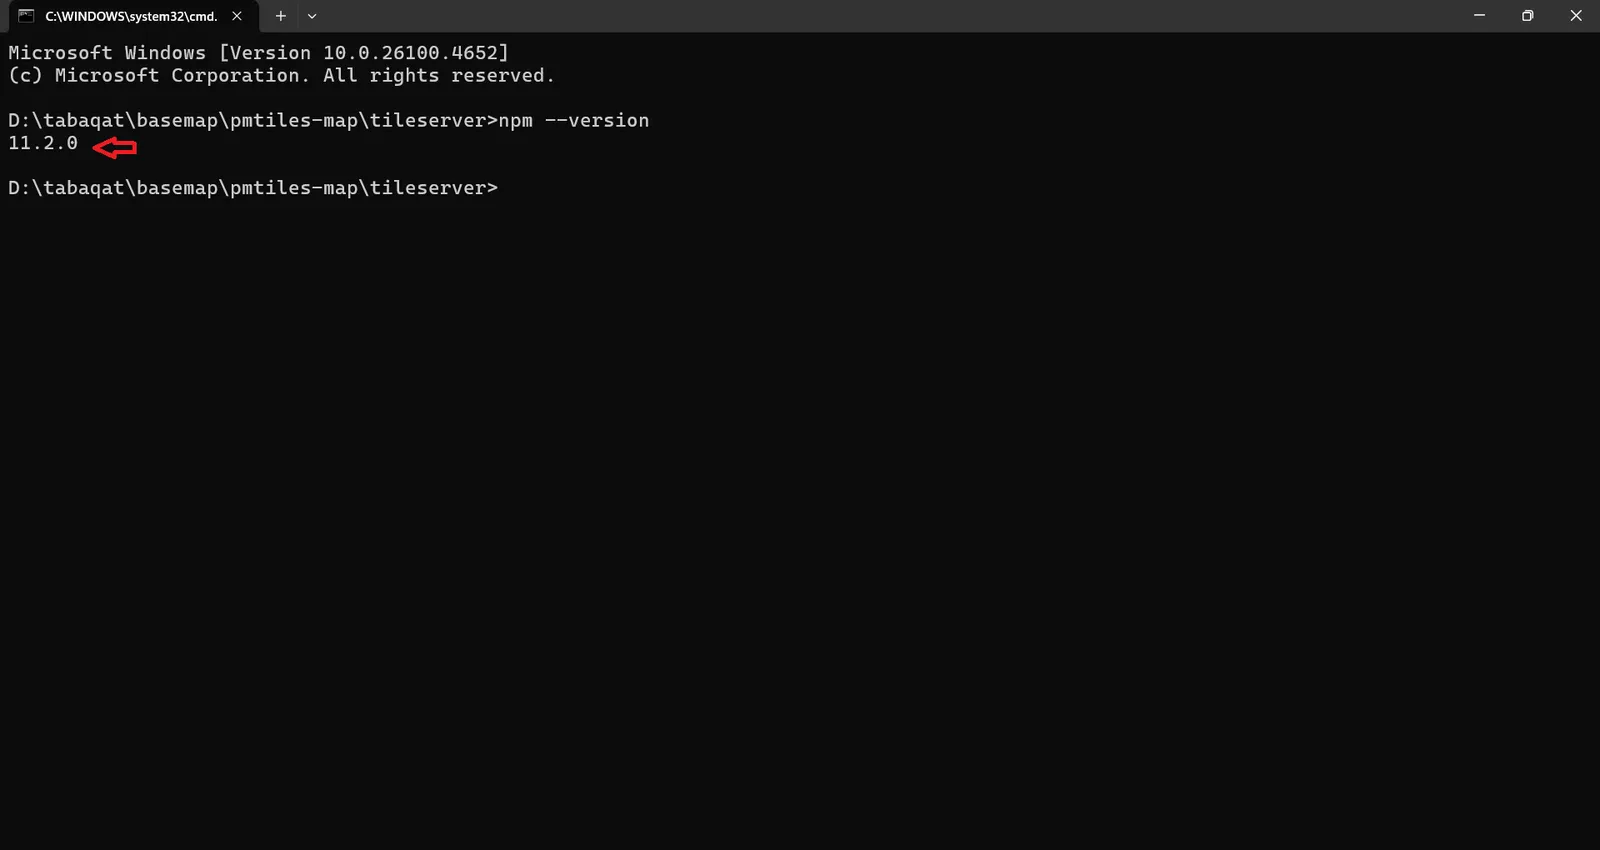
- To check it's installed correctly run this command in windows command prompt : ` npm --version `, it will retrieve the installed version of Node.js which is 11.2.0.
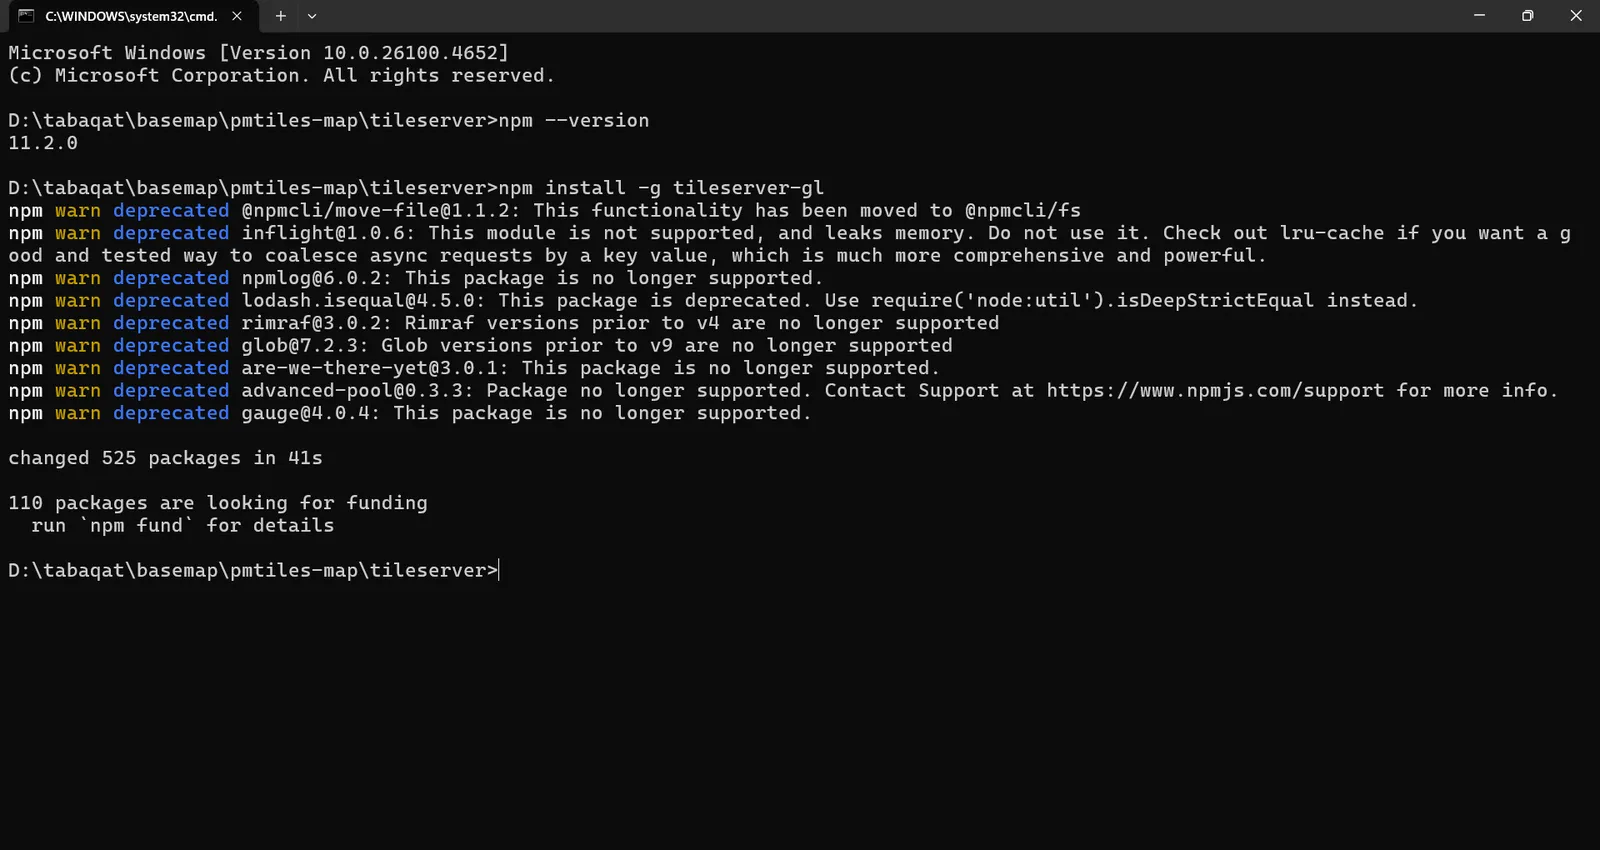
Then, install TileServer GL Globally on your machine through Node.js via this command : ` npm install -g tileserver-gl `
- After installing TileServer GL By Node.js, You need to download all PMTiles and Styles from Object Storage to local system directory and should be in a specified folder structure.
- Download fonts to be used as glyghs in your config.json file by cloning tileserver fonts by this command on your device : ` git clone https://github.com/osmfj/tileserver-gl-site.git `
- Then, copy fonts folder to your folder that contains tiles and styles.
- Rename generated fonts folder to "fonts" and rename PMTiles folder to "data" folder.
- Also, locate sprites folder in the same directory containing data and styles and fonts folders.
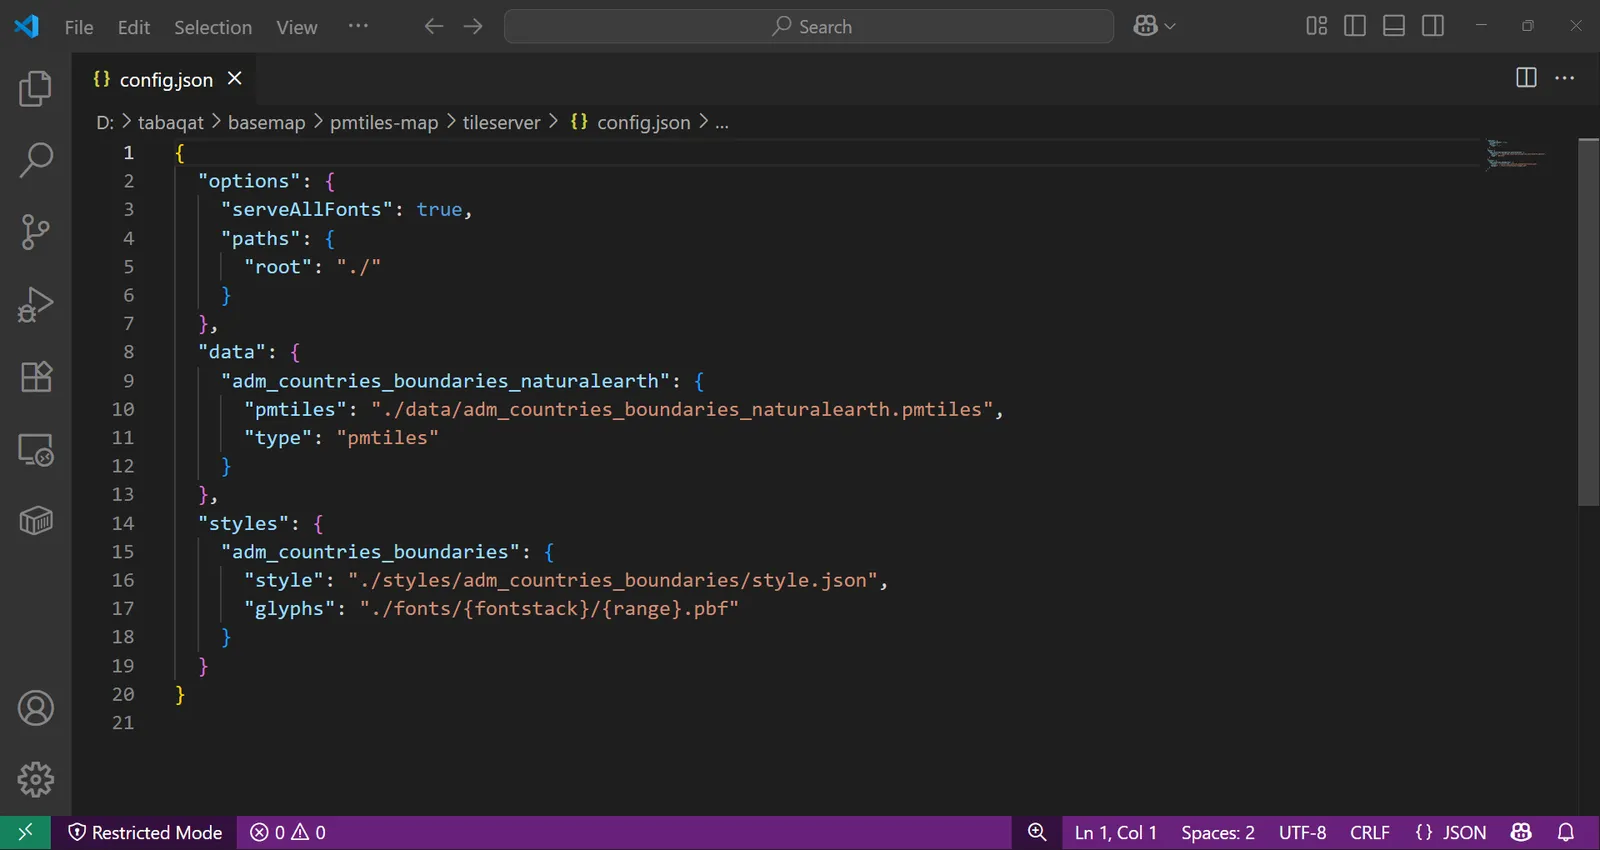
- Then, generate this Config File with this structure in the same directory which points to PMTiles and Style By Relative Paths:
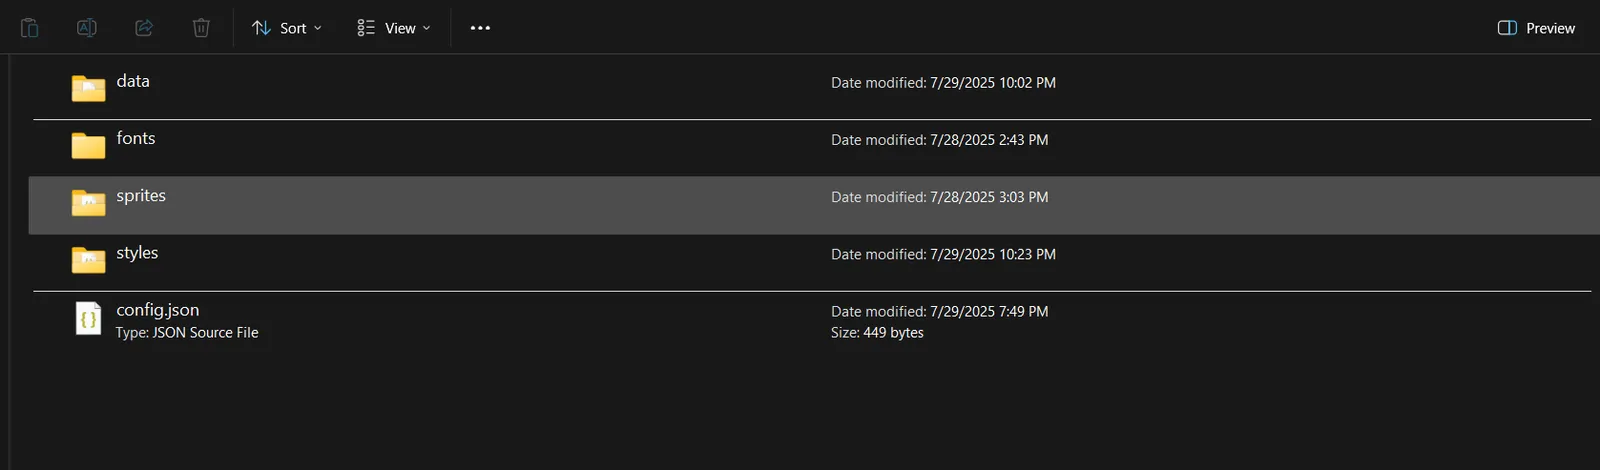
- This will be the final folder structure to serve the PMTiles and Styles correctly By TileServer GL:
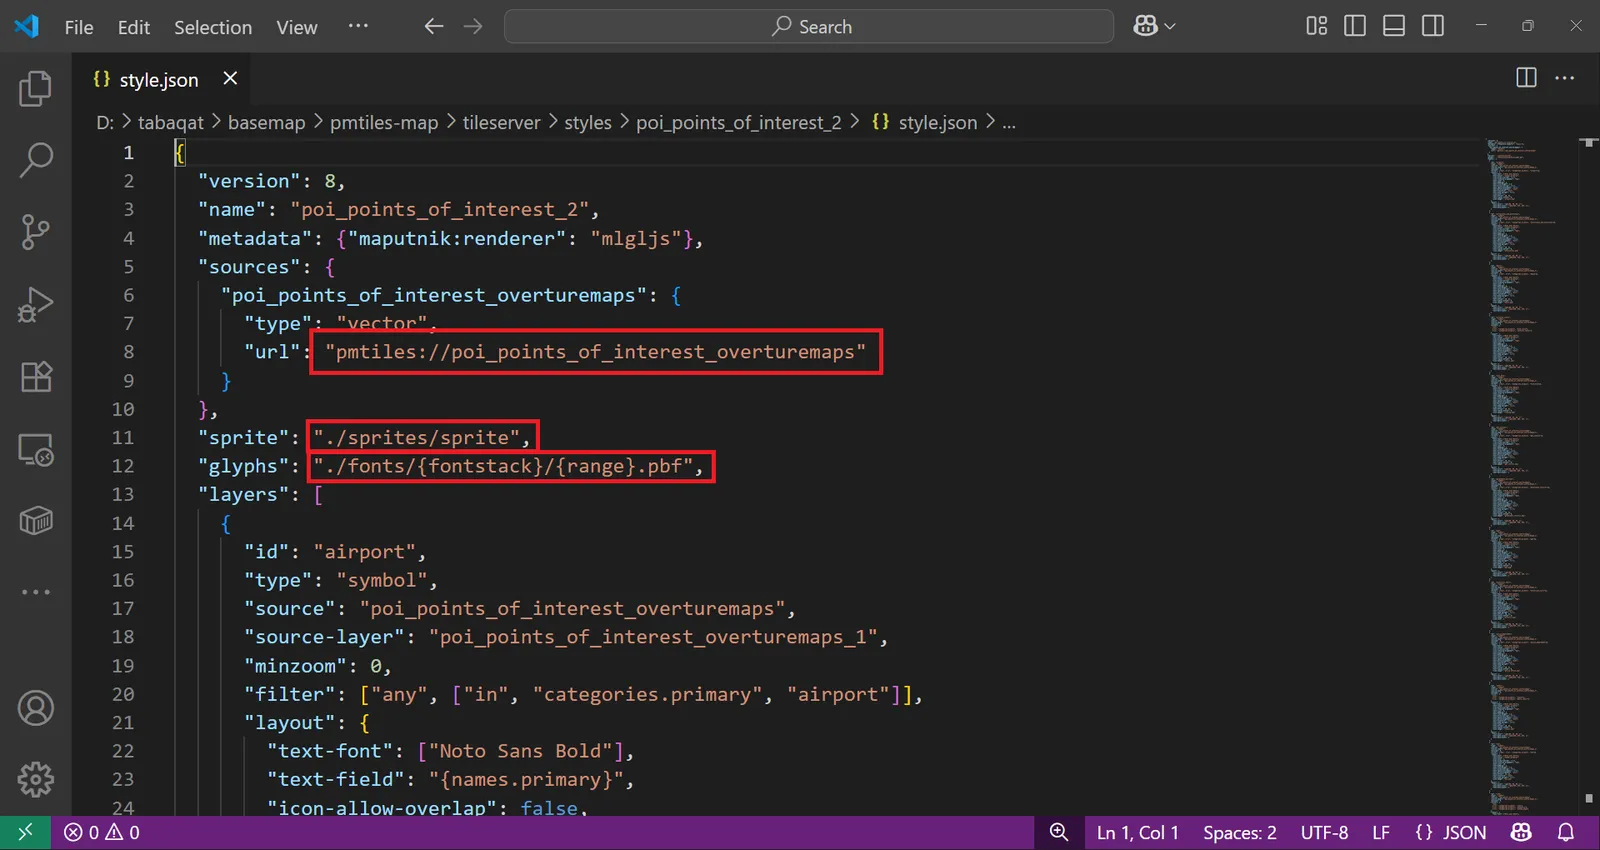
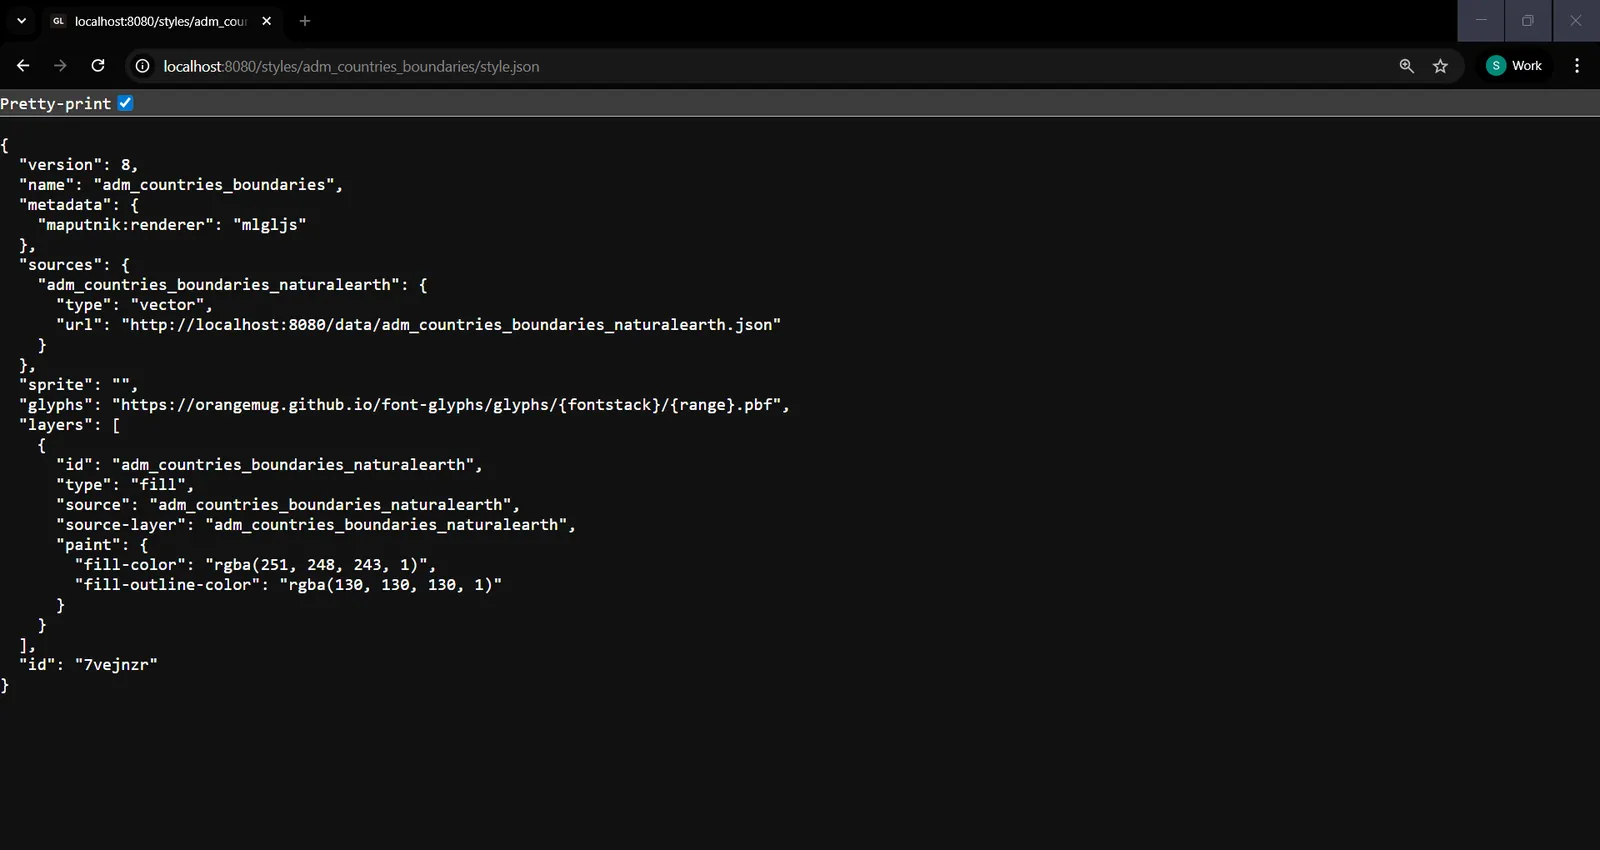
- Last step to complete configuration is to change PMTiles Source URL in Style.json to refer to the local PMTile File not the Remote URL.
- After finishing all configuration steps, open command prompt in the same directory and serve the config file using TileServer GL By running this command : ` tileserver-gl --config config.json ` .. It will serve all PMTiles And Styles Correctly On Server.
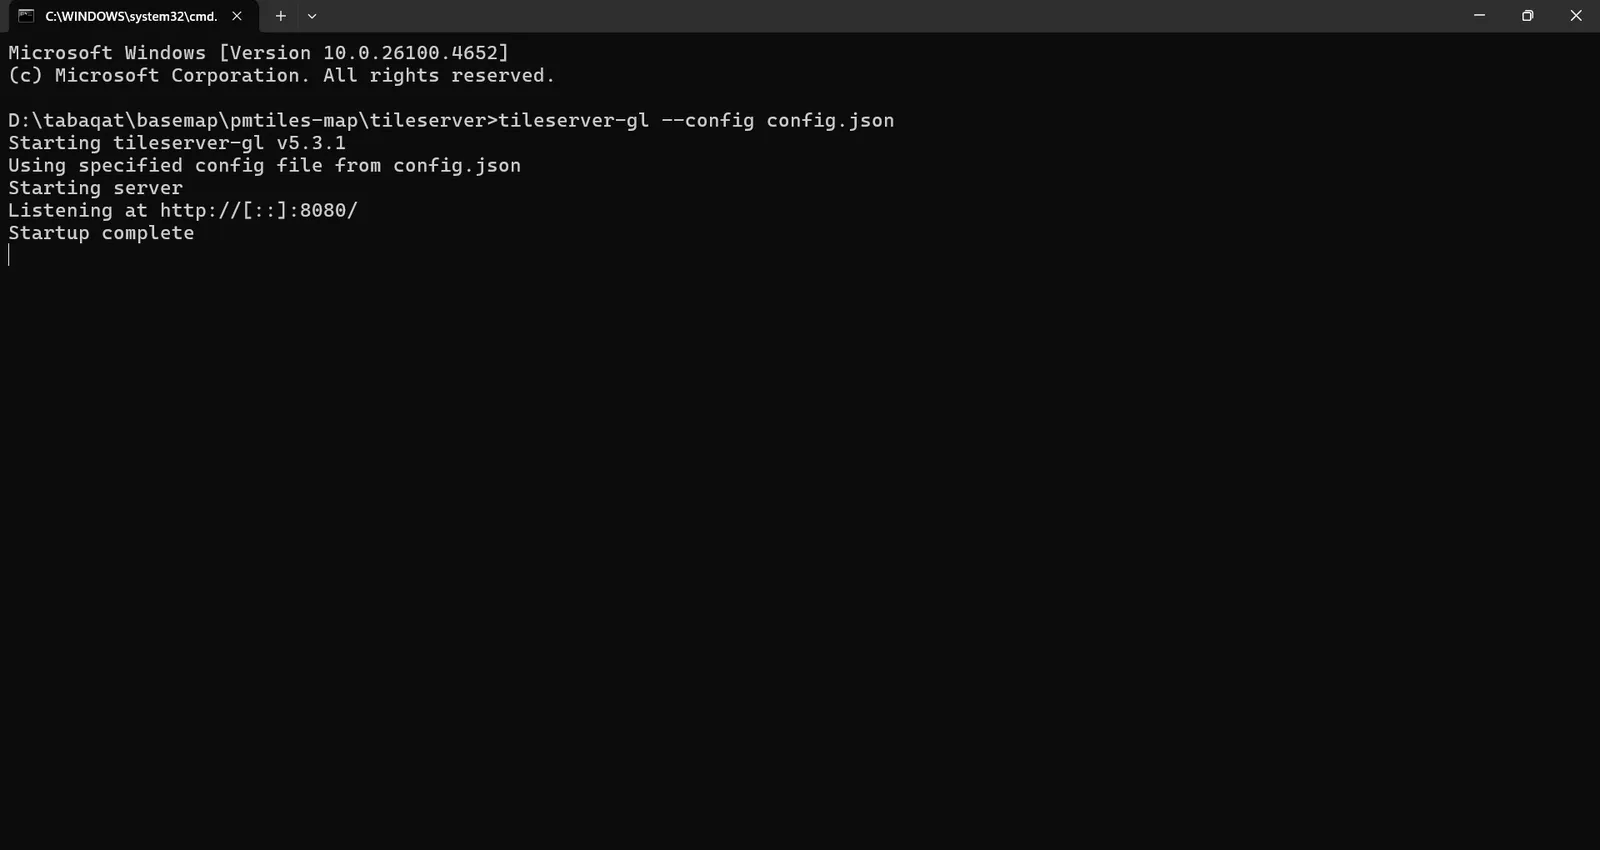
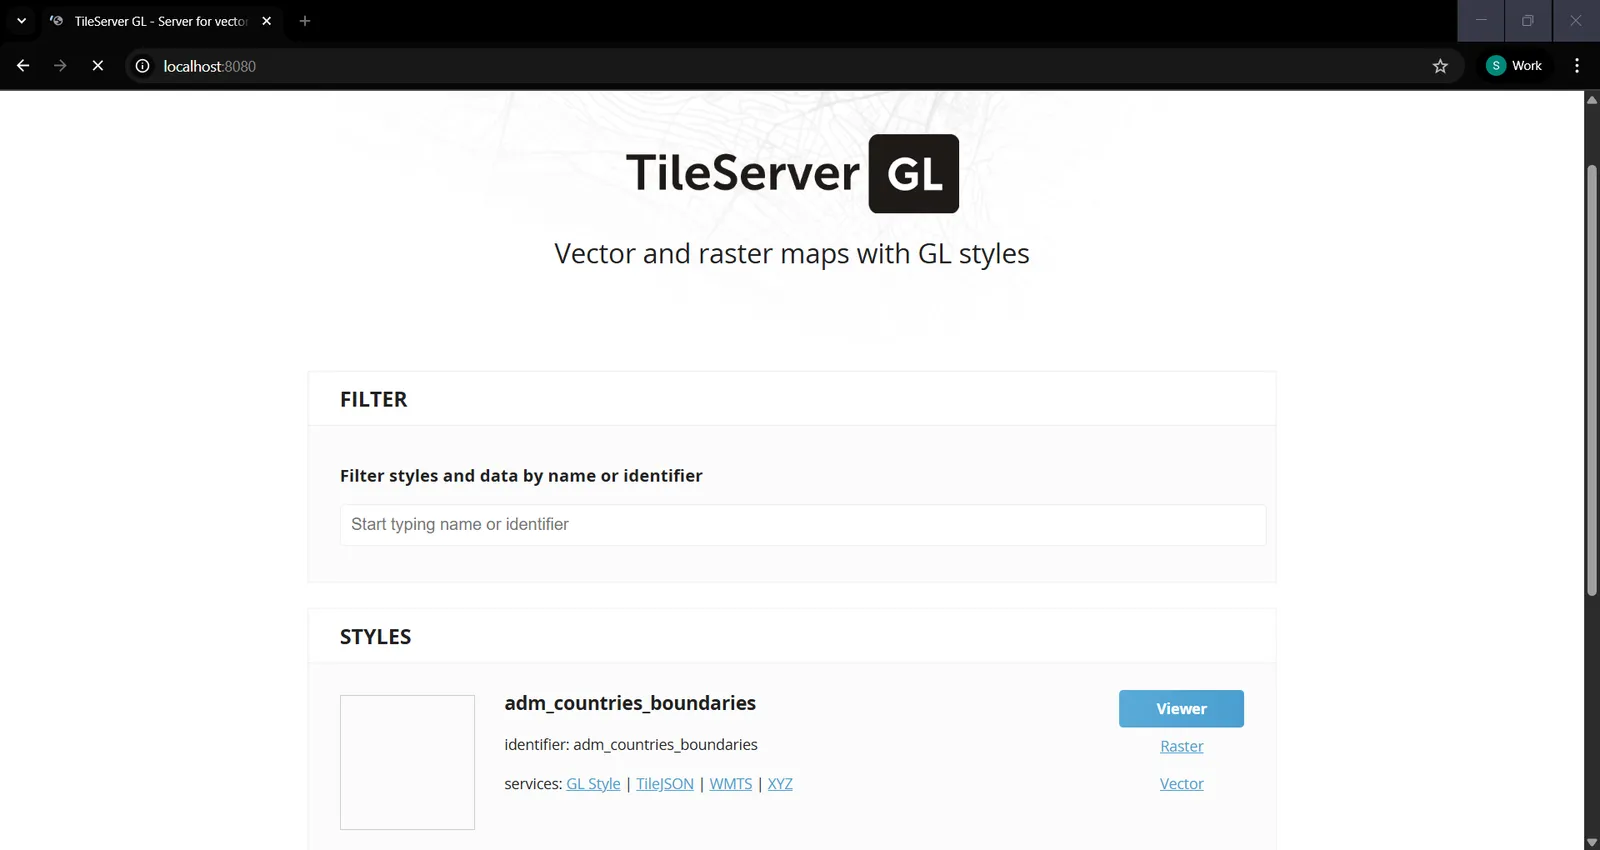
- You can access them by opening http://localhost:8080/ in browser .. You will see your served PMTiles and Its Style.
- To access the style into ArcGIS Pro as vector tile you need to explore GL Style on Server which is like this : http://localhost:8080/styles/adm_countries_boundaries/style.json
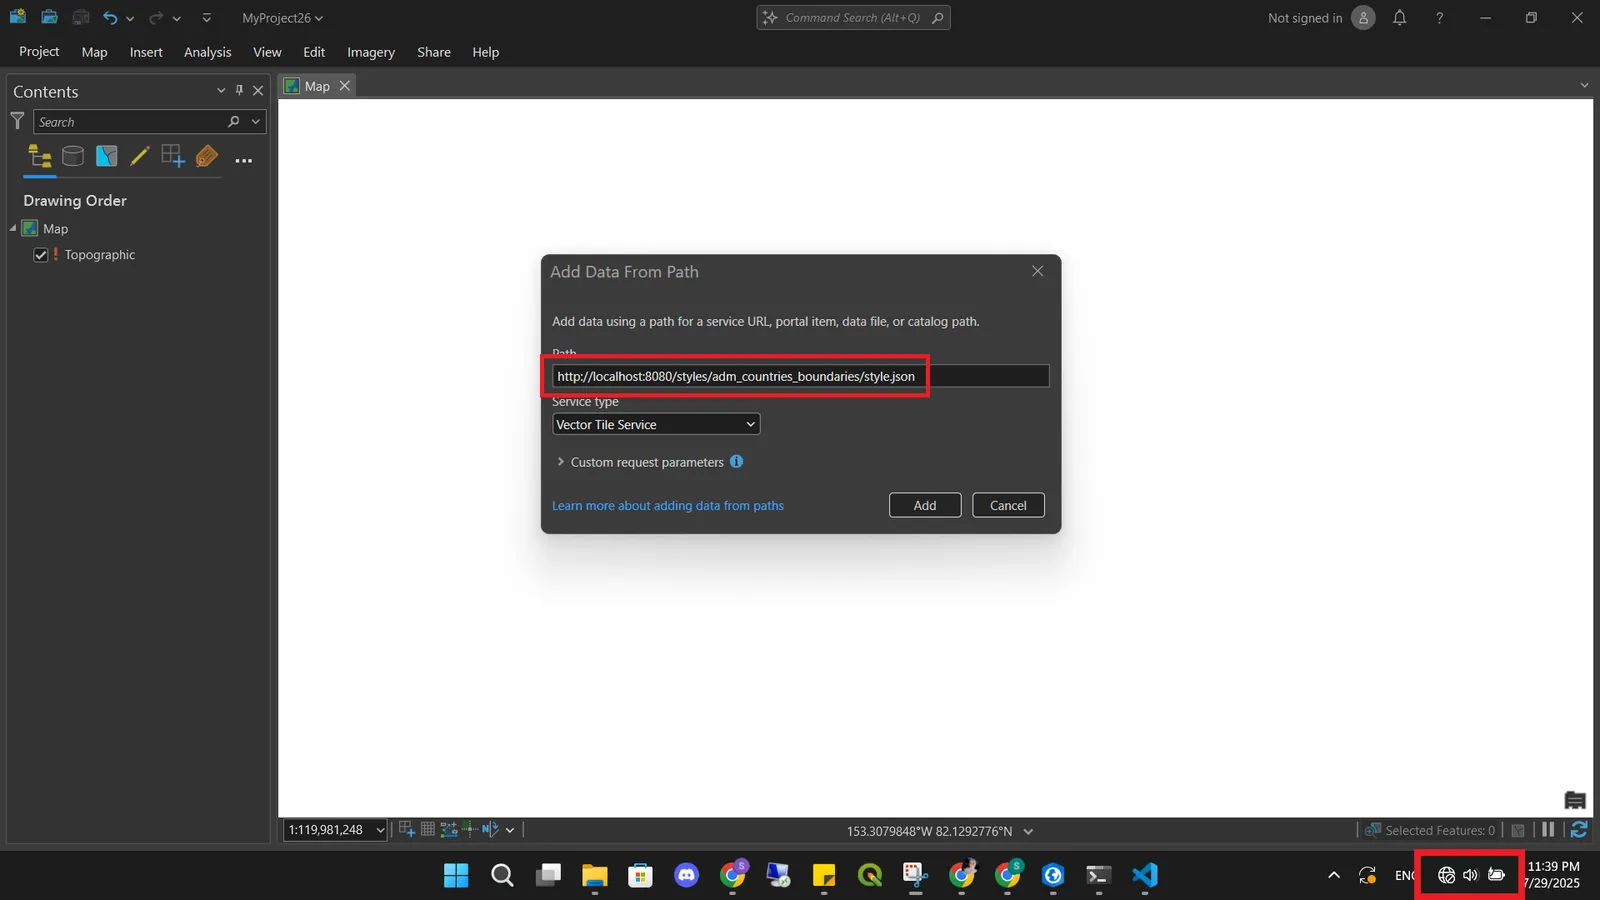
- Make Sure you are disconnected to internet, then open ArcGIS Pro Software to open GL Style as vector tile by inserting GL Style URL you copied from Server in Add data from path button.
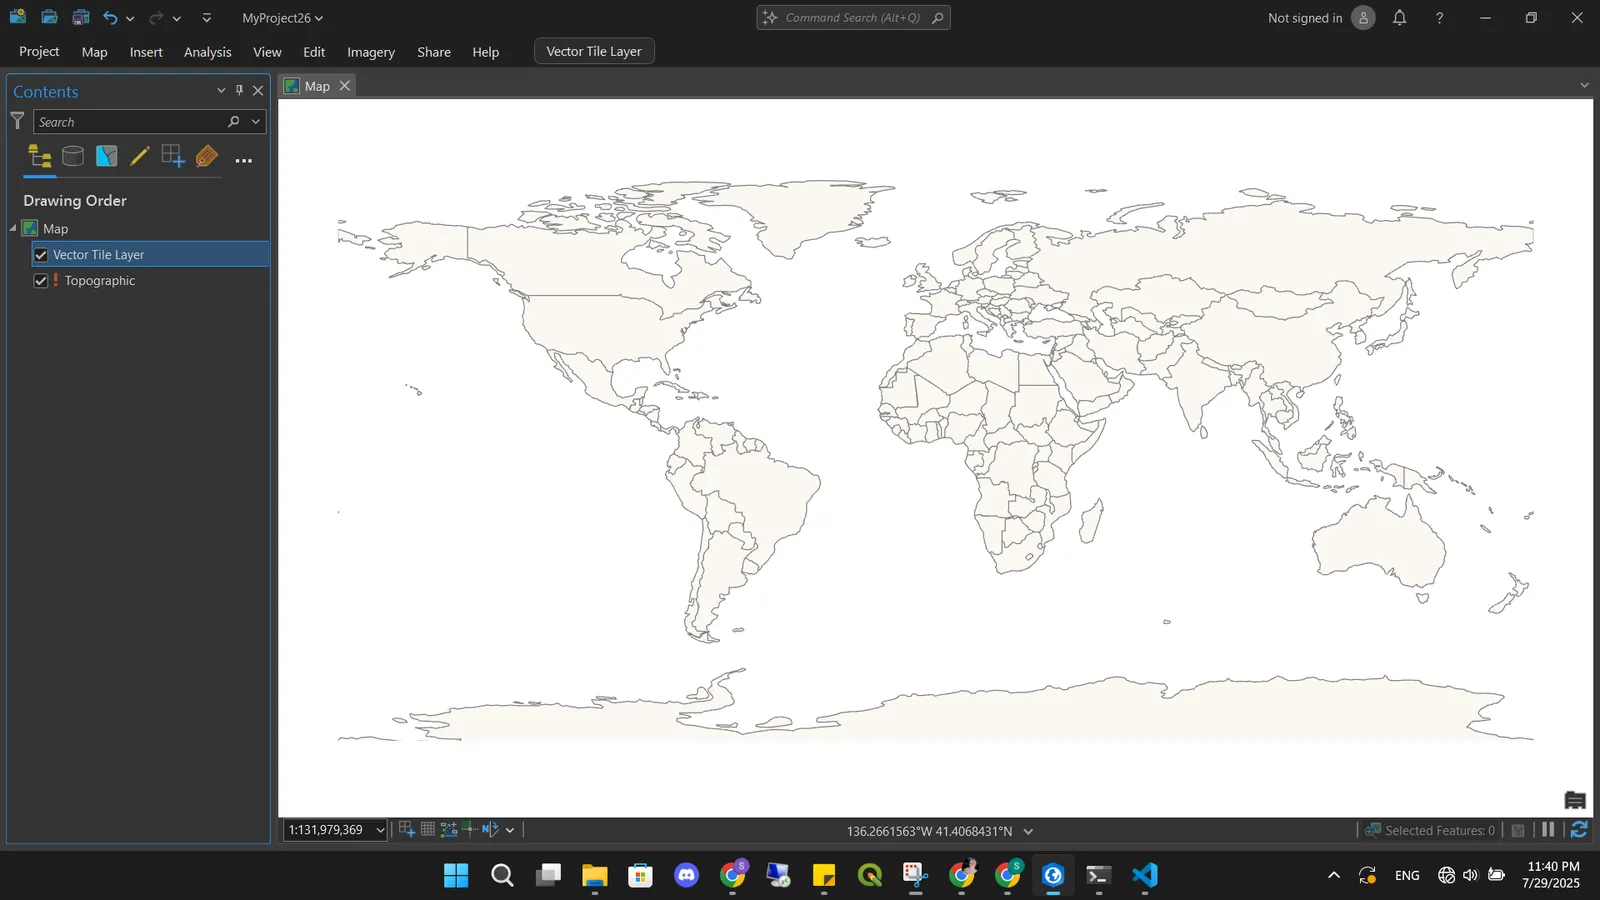
- Click Add, Vector tile layer loaded on map successfully despite your are offline.
- By the same method serve all other PMTiles and Styles And Add them in the same order in config file .. your will generate full offline basemap.
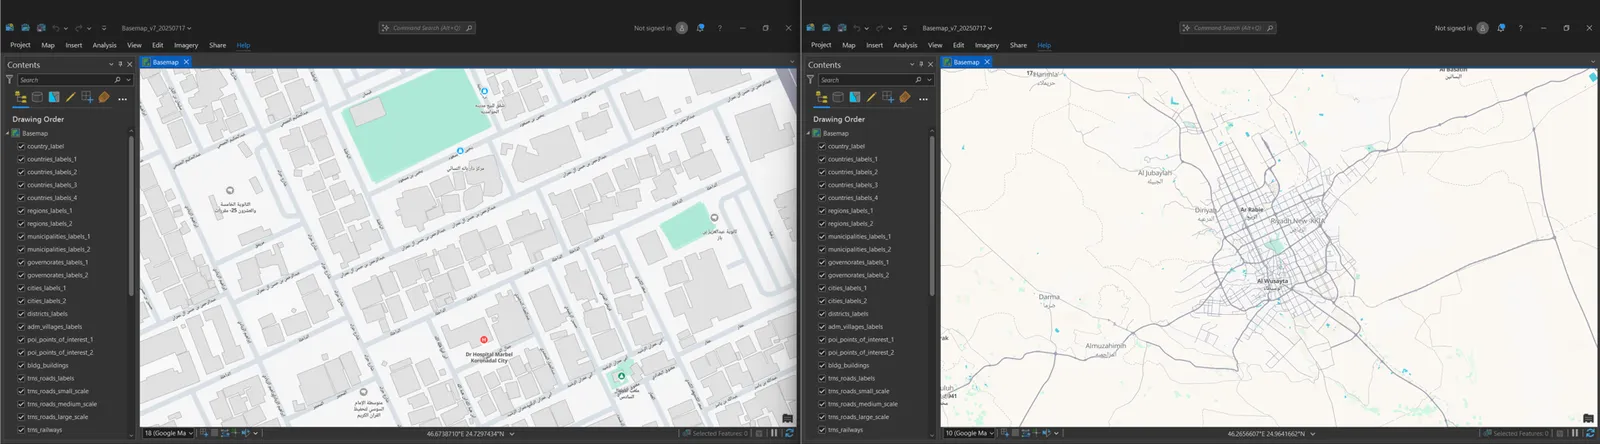
Conclusion
By following all the above technical steps, you have generated offline vector tiles basemap into ArcGIS Pro By serving PMTiles using TileServer GL Through Node.js On Windows System which is very amazing approach to integrate cloud native geospatial technology with Esri technology and take the best use of its advantages of accessing vector tiles into ArcGIS Pro even you are offline, also its fast rendering and its good resolution into ArcGIS Pro makes it the best choice to generate a basemap.