Introduction
- We discussed in a previous article the process of generating PMTiles file either from Vector Data : https://blogs.tabaqat.net/en/generating-pmtiles-from-vector-geospatial-data-using-tippecanoe-and-go-pmtiles-tools/ or Raster Data : https://blogs.tabaqat.net/en/generating-pmtiles-from-sentinel-satellite-imagery-produced-by-tabaqat-satellite-tool/ .
- Through this article, we will clarify how to style PMTiles generated from Vector Data using Maputnik and how to serve it using TileServer GL.
Technical Guide
- Once PMTiles is generated, You need to store it on S3 bucket (e.g. Minio) to enable you to access it through Maputnik to style it.
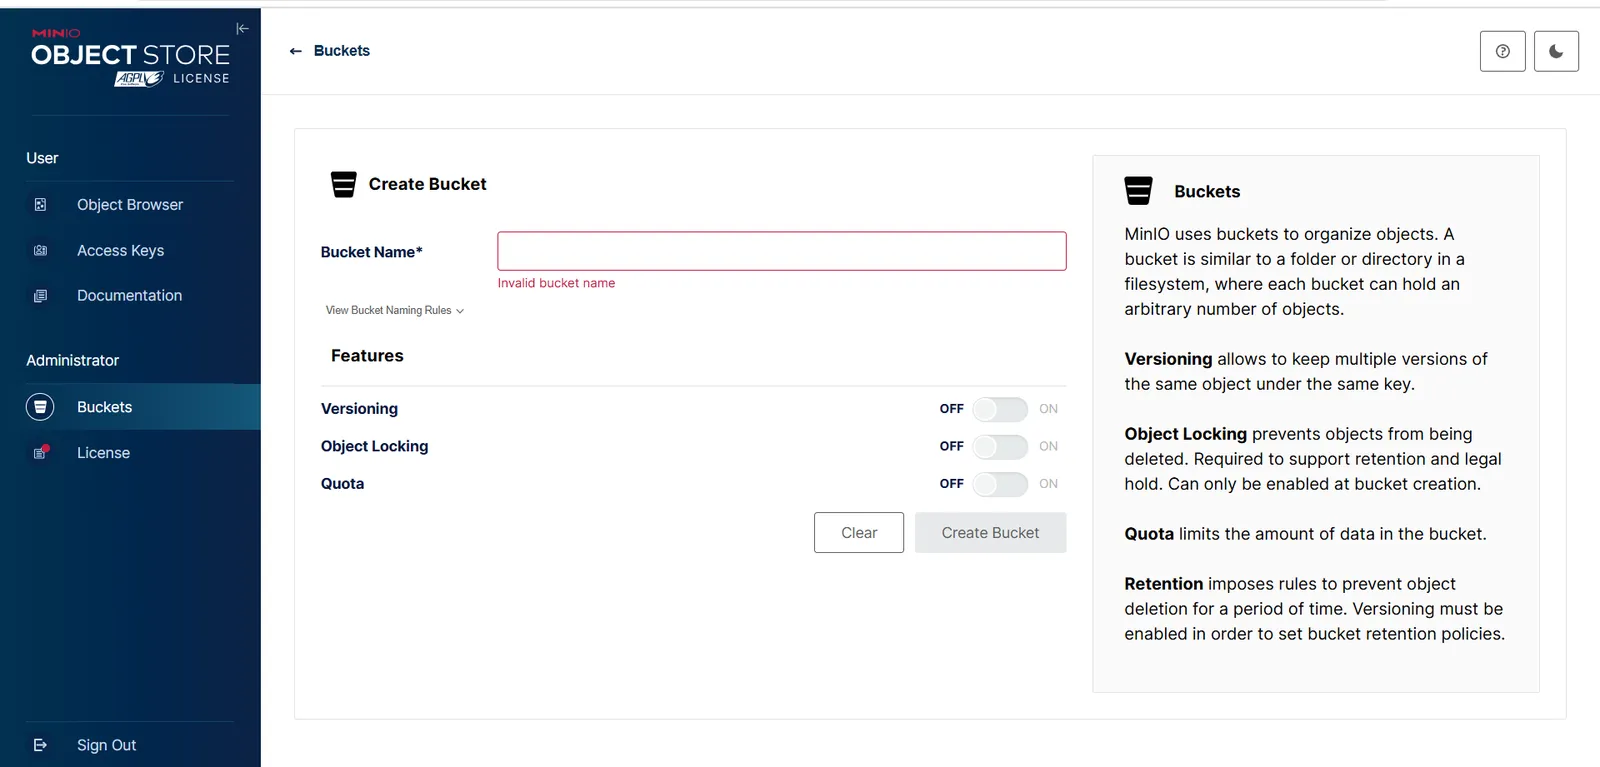
- Create a bucket on Minio to store the generated PMTiles Files.
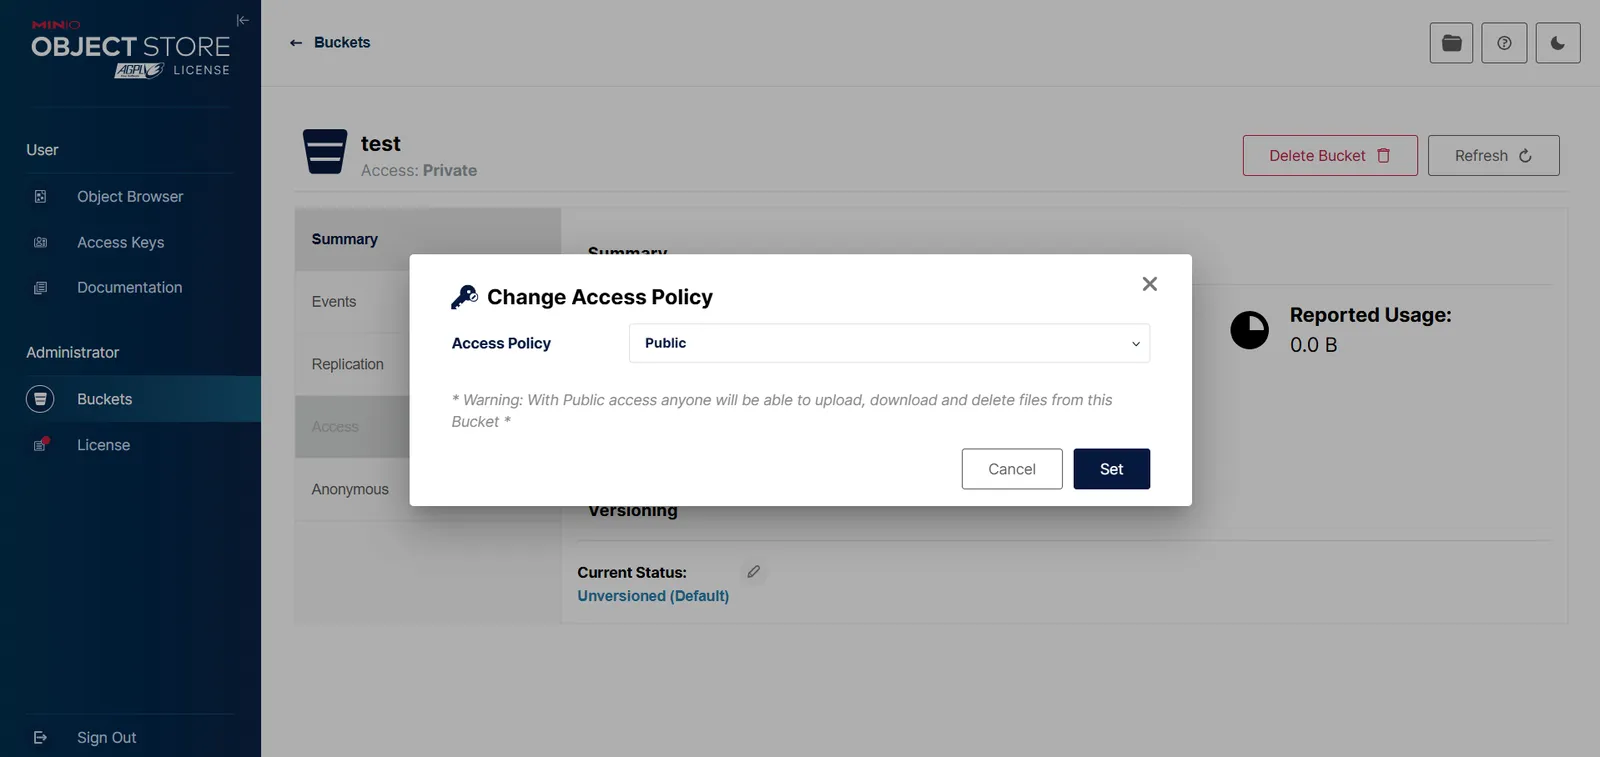
- Assign the bucket privacy to Public to allow Maputnik to access the PMTiles.
- Then, upload the PMTiles Data to the bucket.

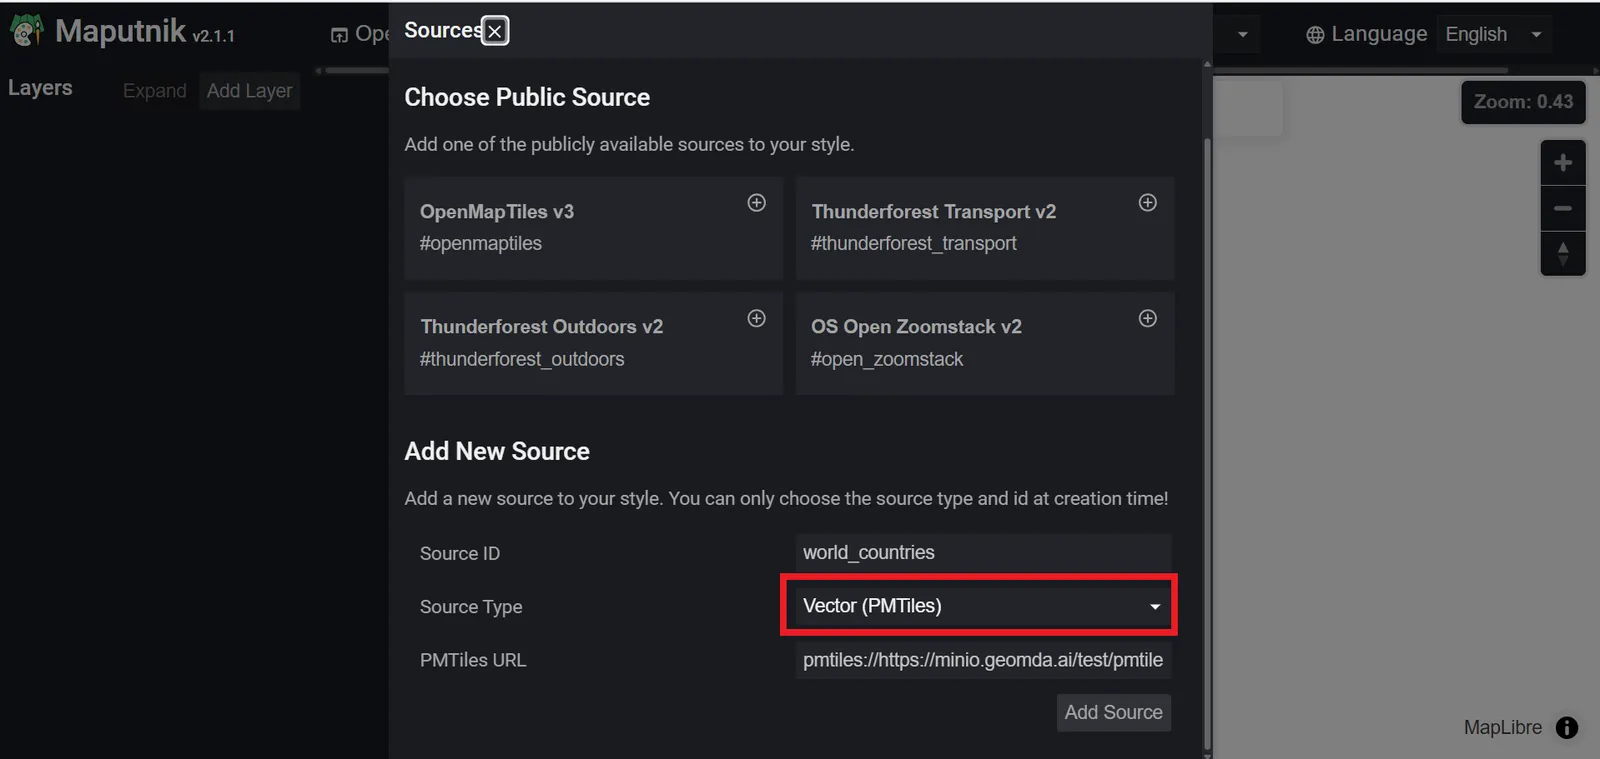
- Once PMTiles is uploaded to the bucket, you can access the data in Maputnik to style it via this URL : https://minio.geomda.ai/test/pmtiles/world_countries.pmtiles and assign the source type to "Vector PMTiles" .. then click Add Source.
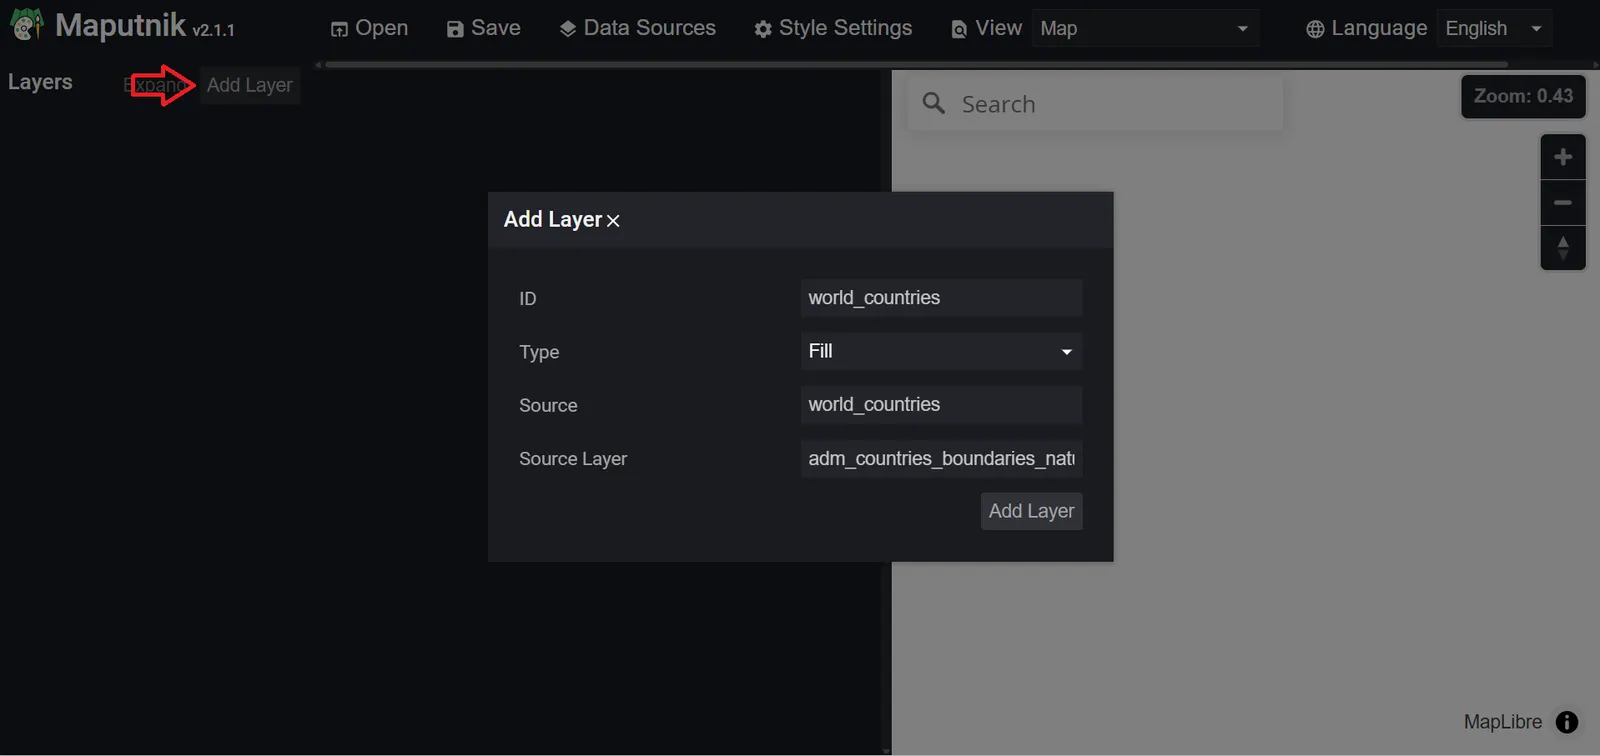
- Click on Add Layer. Then, type the ID of the PMTiles and choose the Type, Source and Source Layer from Dropdown Menu.
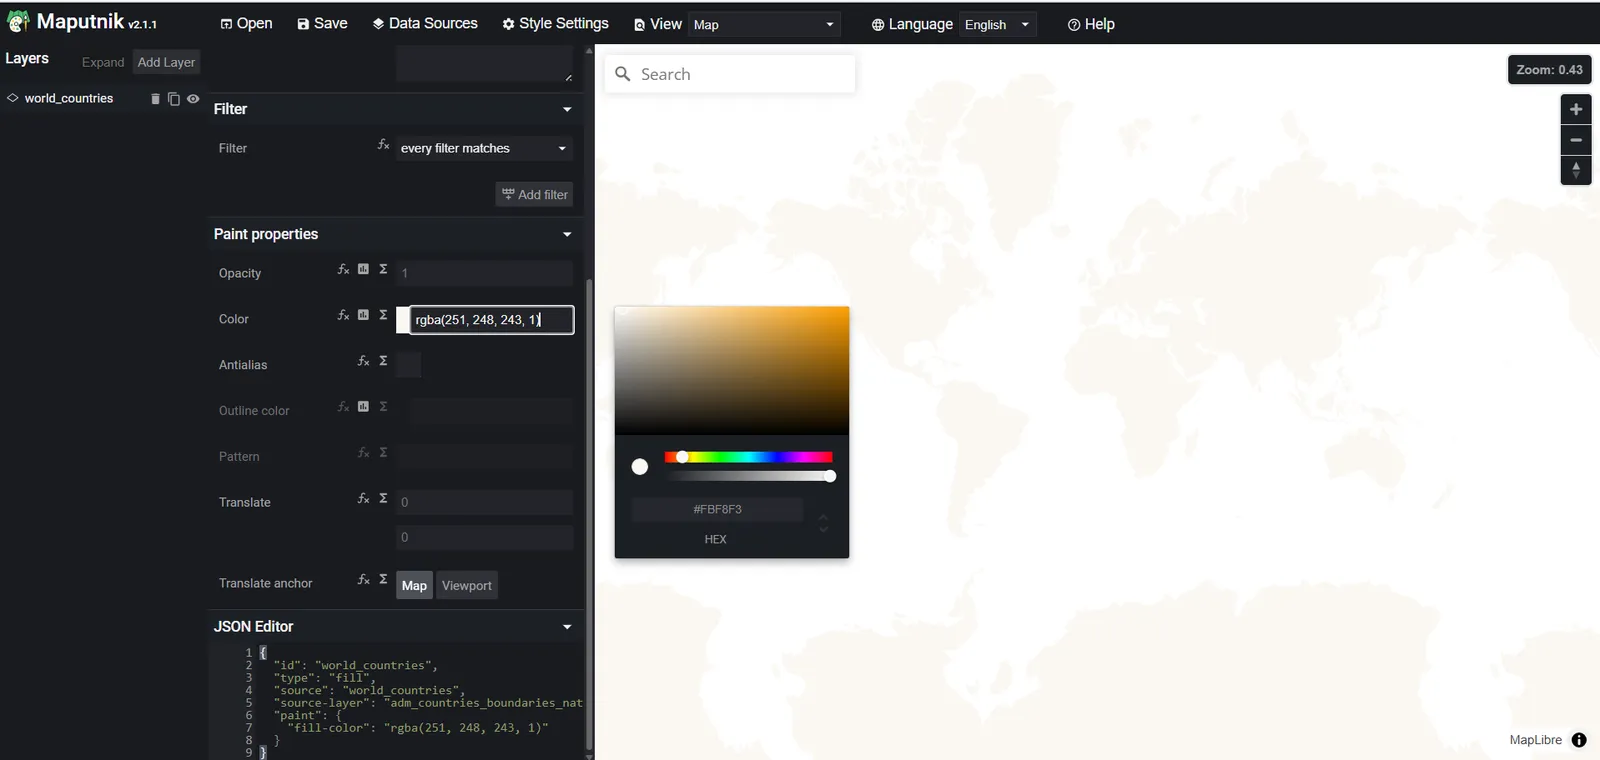
- Once the layer is added, you can customize its Fill Color, Outline Color and other parameters.
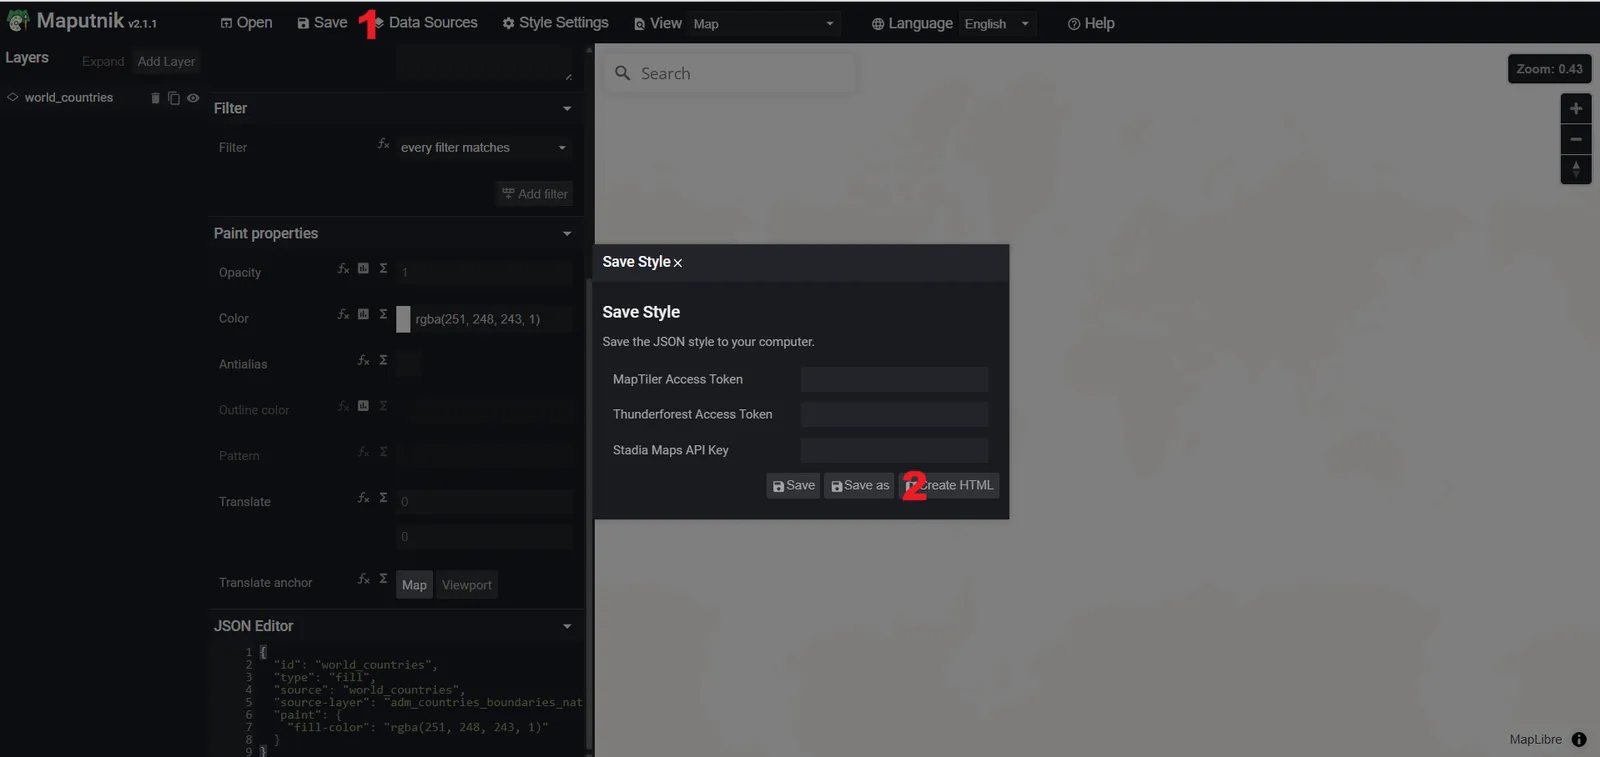
- Save the created style in specified folder on device .. it will be saved as JSON file.
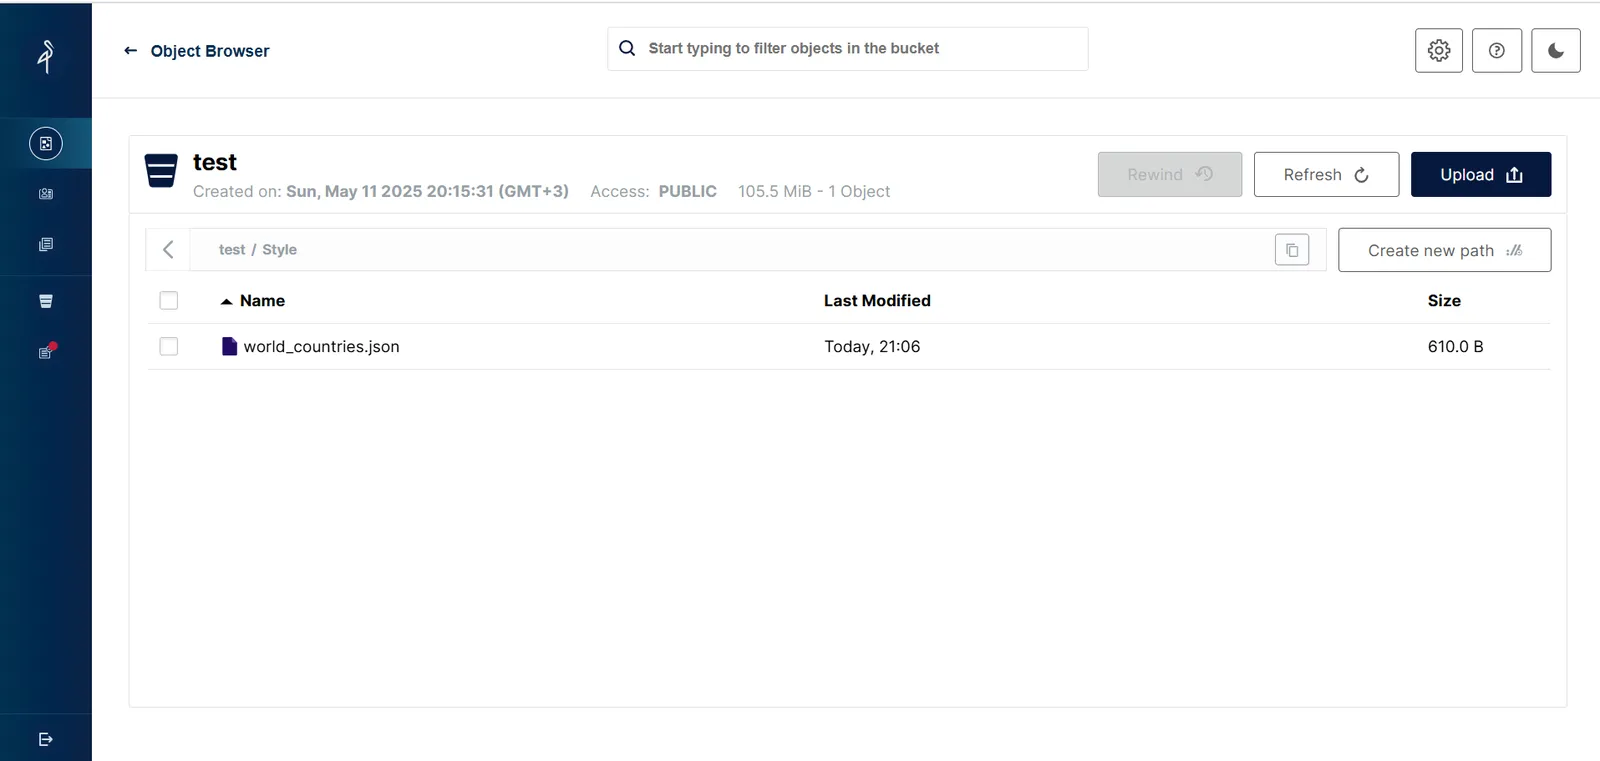
- Upload Style JSON file to the bucket to enable you to serve the PMTiles and Style JSON through Server. (In this Case TileServer GL).
- Setup Docker on your device to host PMTiles Using TileServer GL.
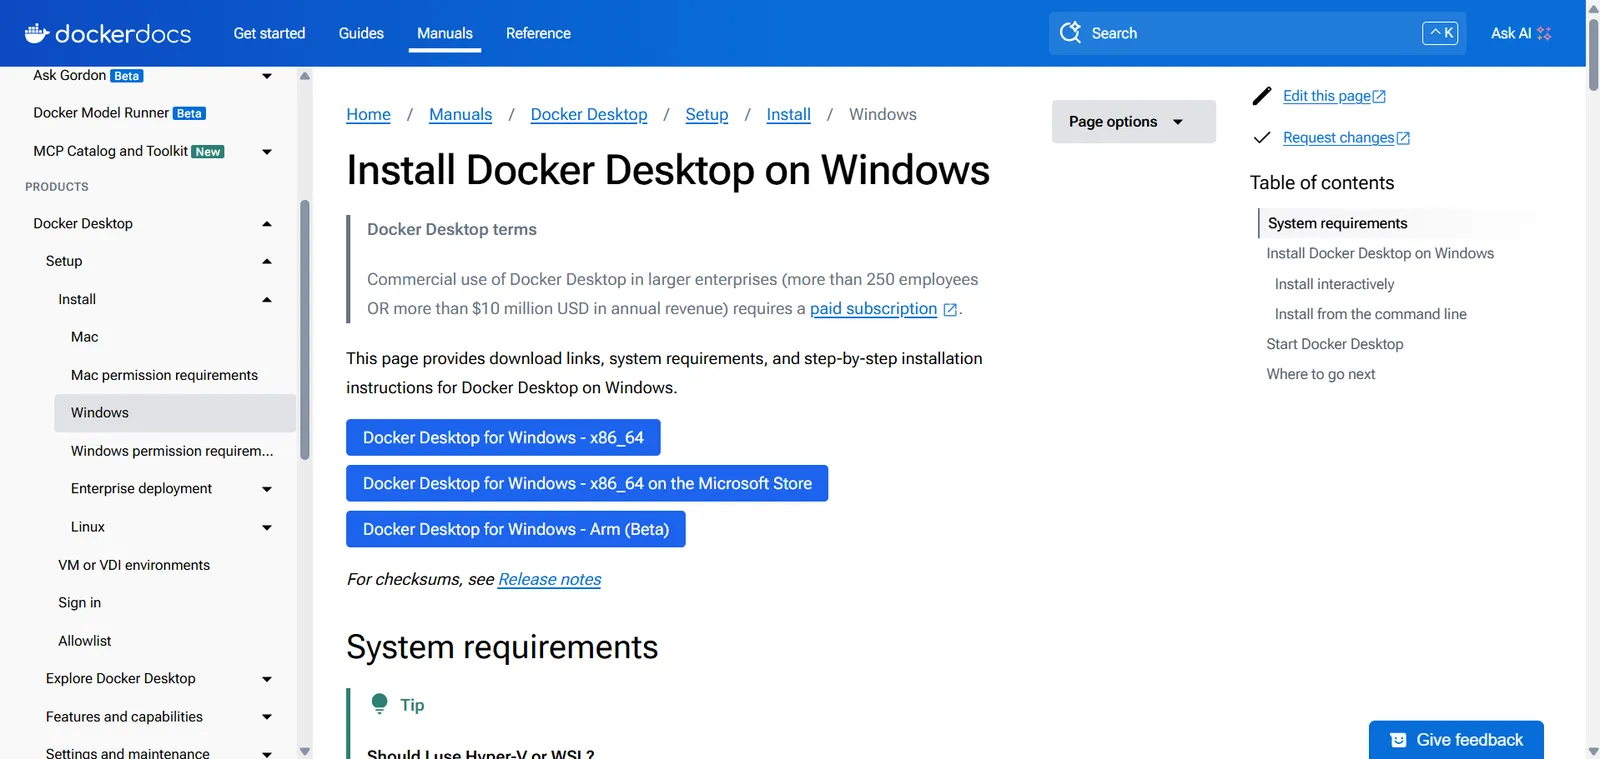
- Follow installation Steps of Docker and set it to the default until It's installed successfully.
- Create Config file that contains the PMTiles and Style JSON Files S3 URLs according to this structure.

- Open Ubuntu WSL terminal or Windows Power Shell , navigate to Config file directory.
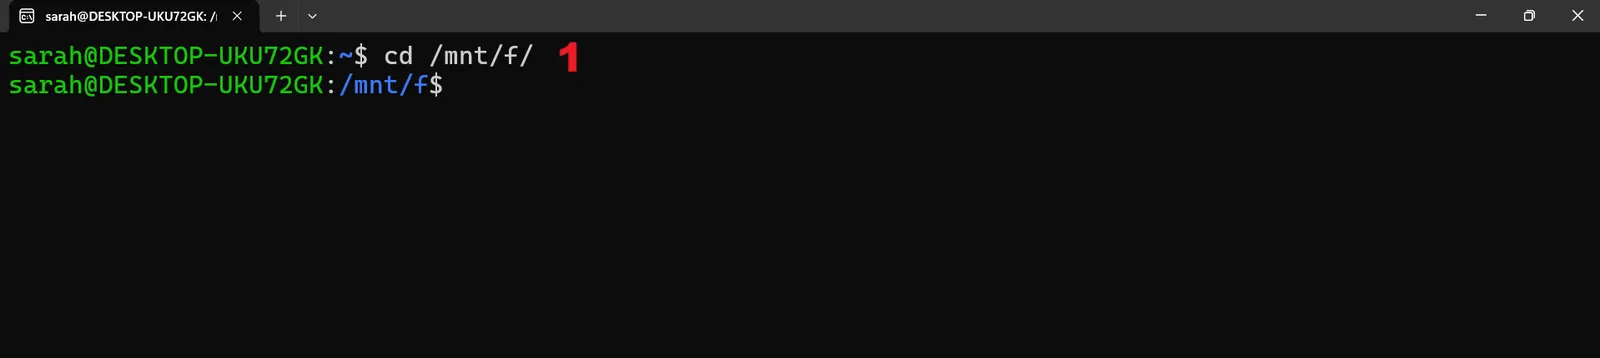
- Then, write this Command to serve the PMTiles and Style file.

- An ID of a new container in docker will be generated once you run this command.

- Open the port 8080 from docker desktop of the container with the same ID generated in the terminal.

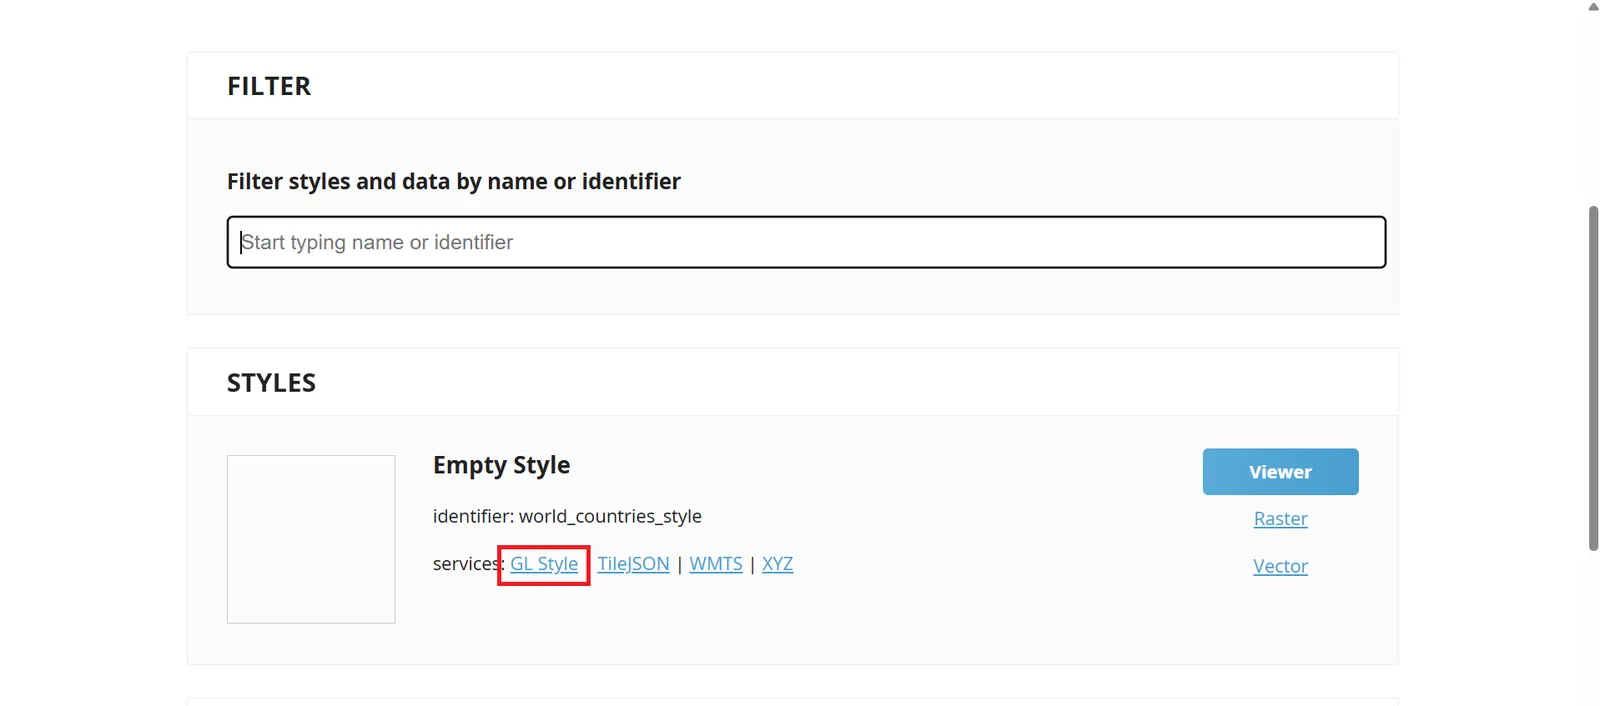
- You will find the served PMTiles and Style File .. Choose GL Style Option to navigate to GL Style URL that will be accessed in ArcGIS Pro.
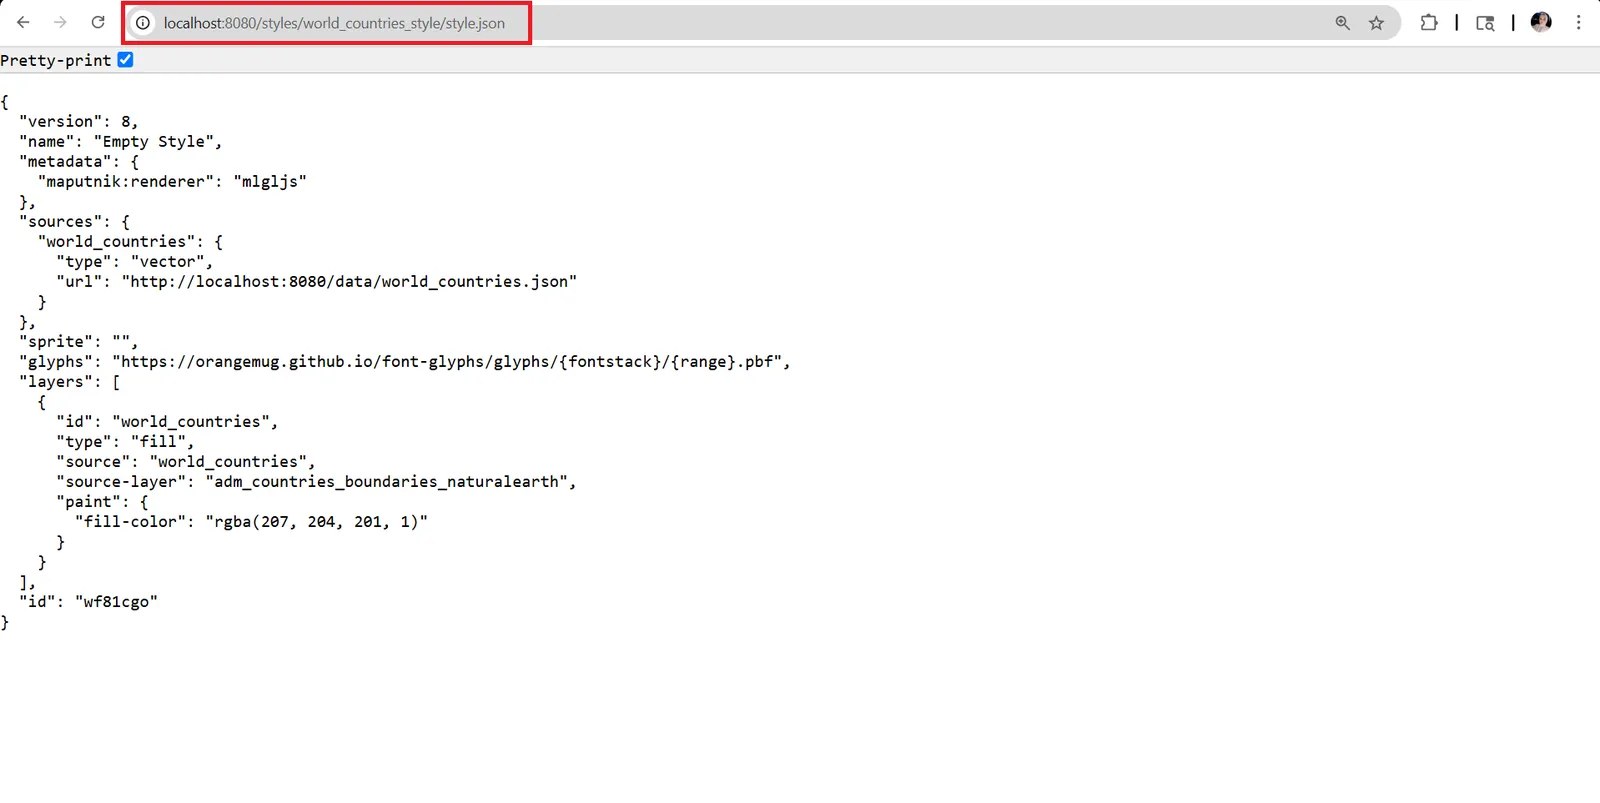
- Copy the GL Style URL that enables you to open PMTiles Style in ArcGIS Pro as Vector Tile Layer.
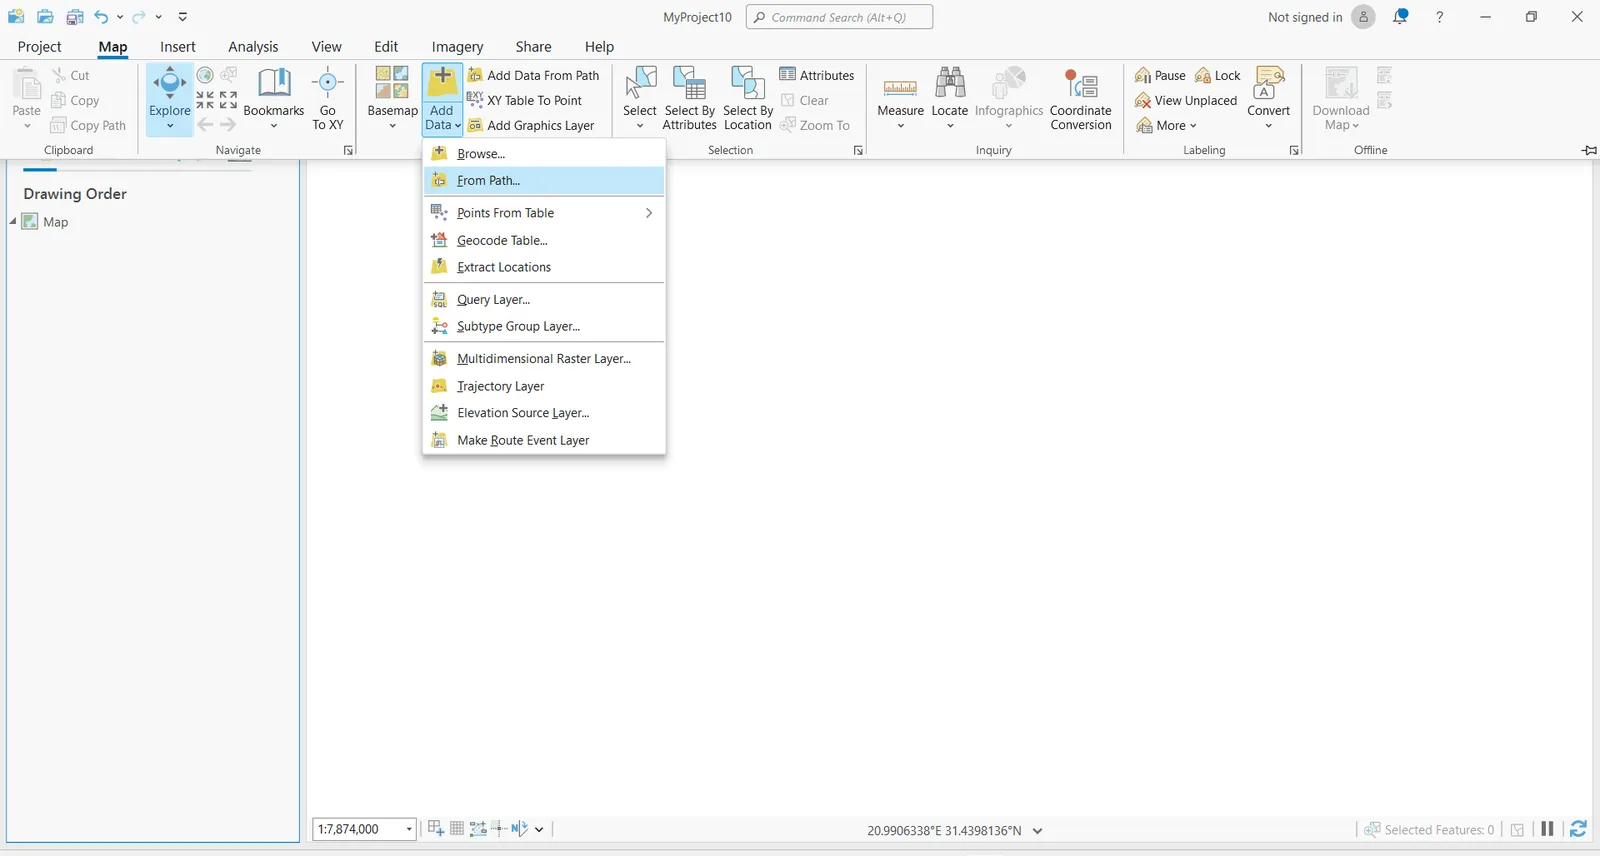
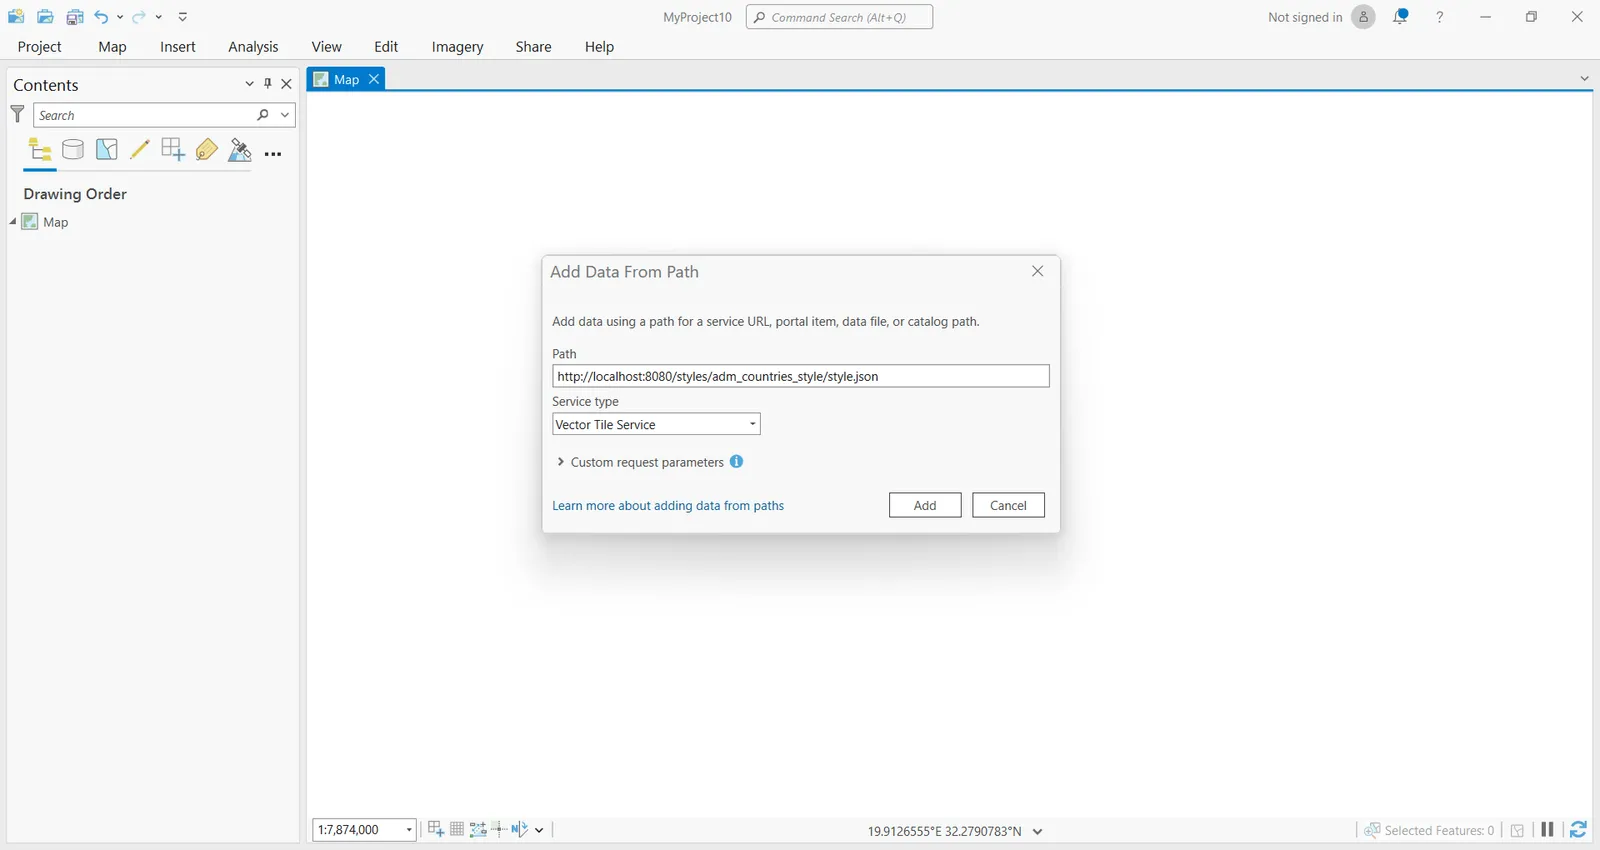
- Open ArcGIS Pro and Click on Add Data From Path.
- Paste GL Style URL and Choose Vector Tile Service As Service Type and Click Add.
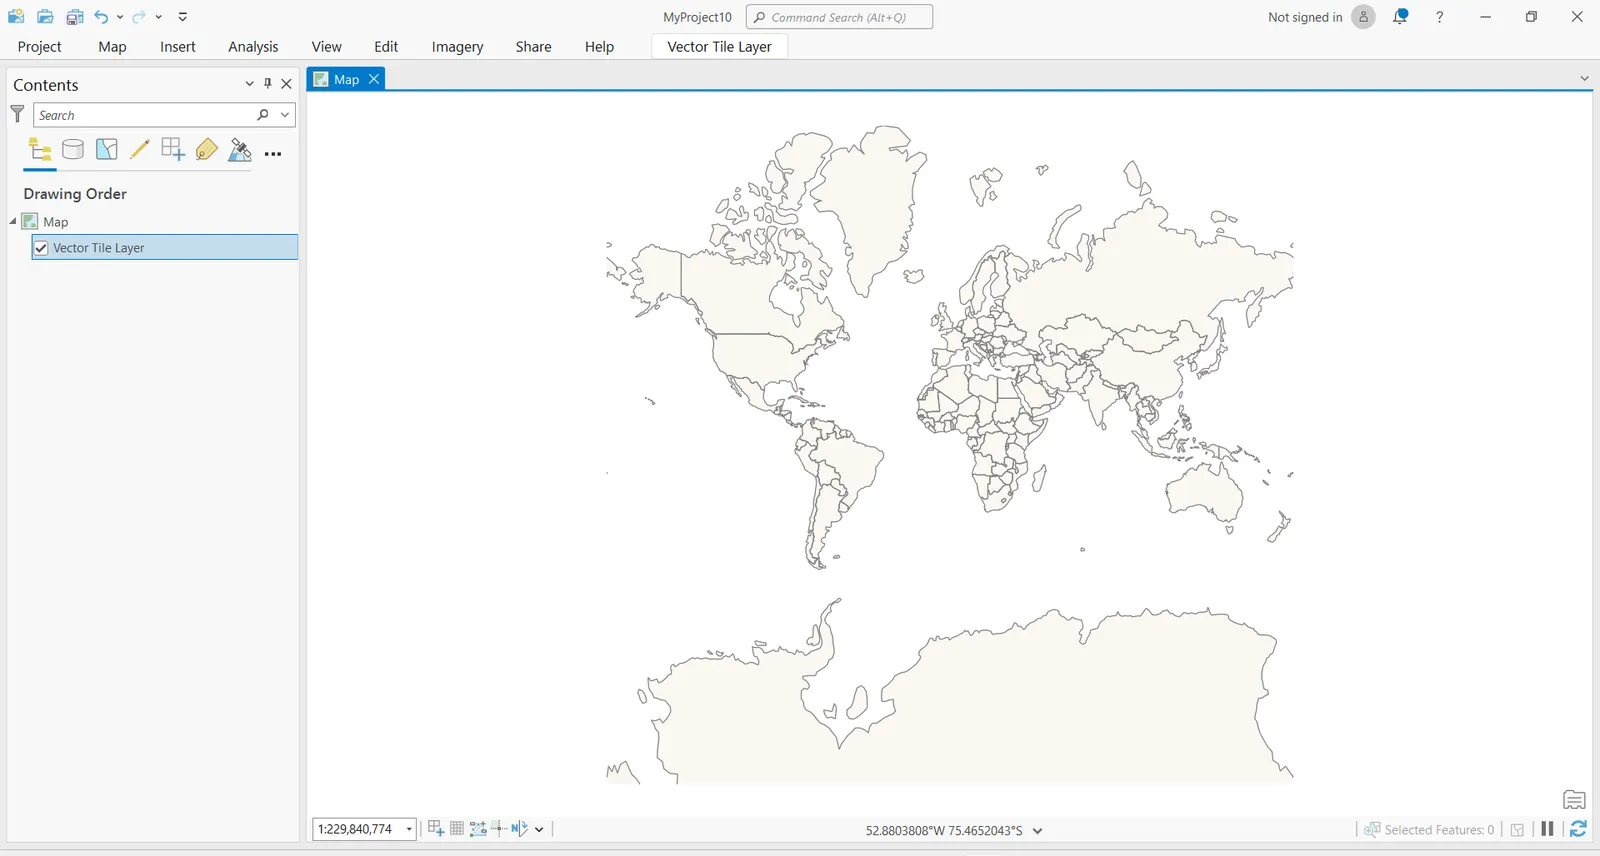
- A Vector Tile Layer will be added on Map Successfully in ArcGIS Pro.
Conclusion
By following all previous steps, you have styled and served PMTiles and accessed it in ArcGIS Pro to benefit from its Advantage of fast rendering and to access it without the need of a server.